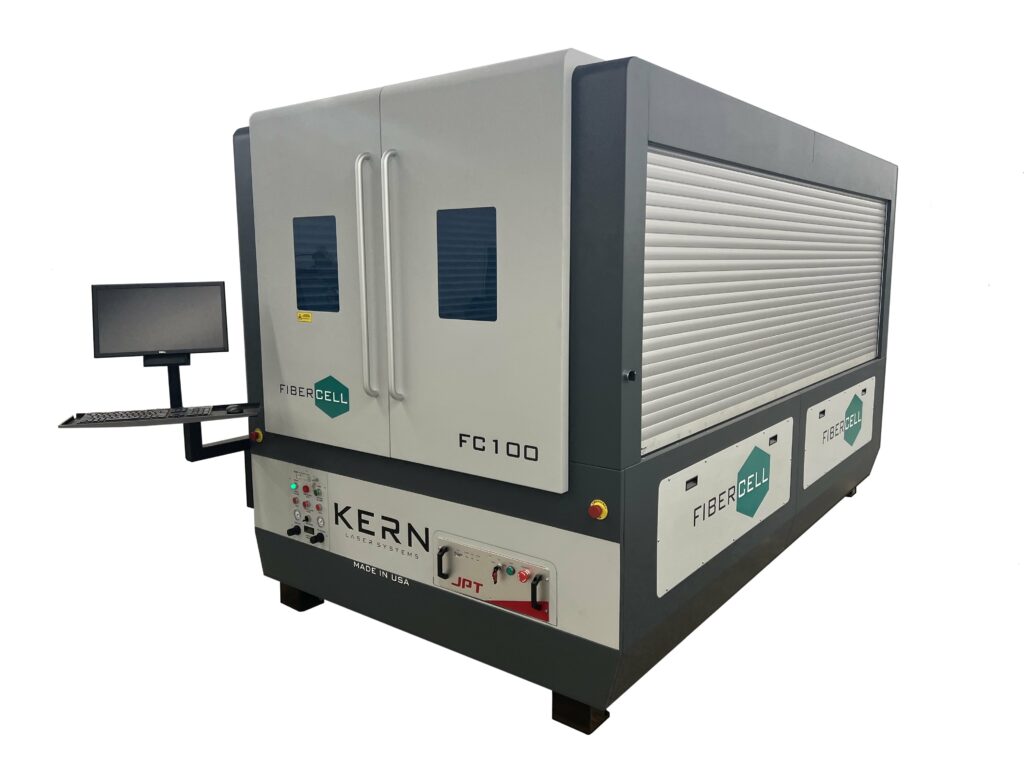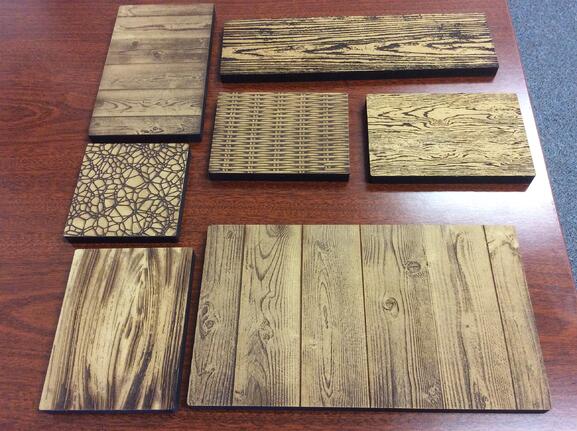
Application Tip
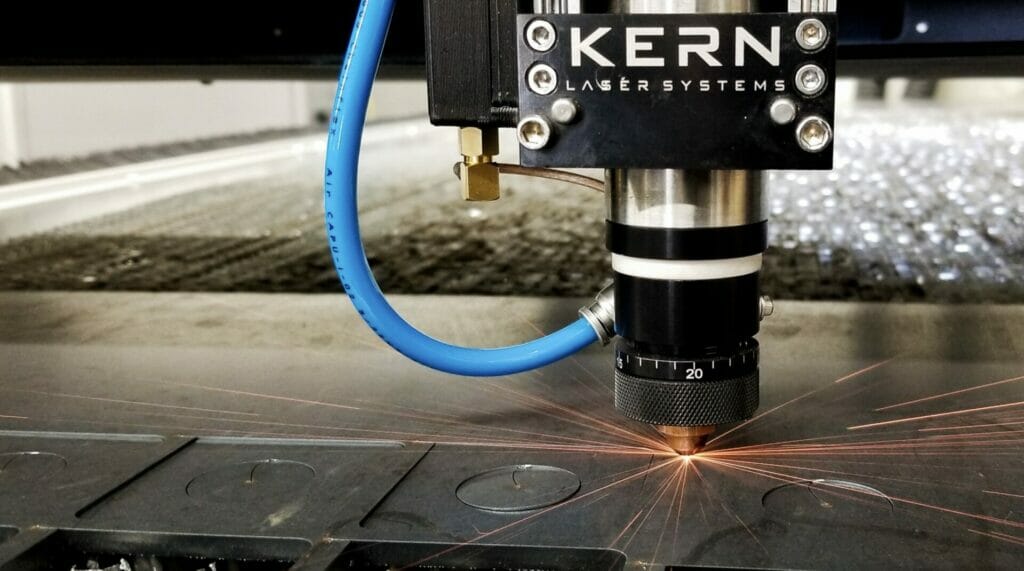
4 Industrial Laser Cutting Trends from the Experts
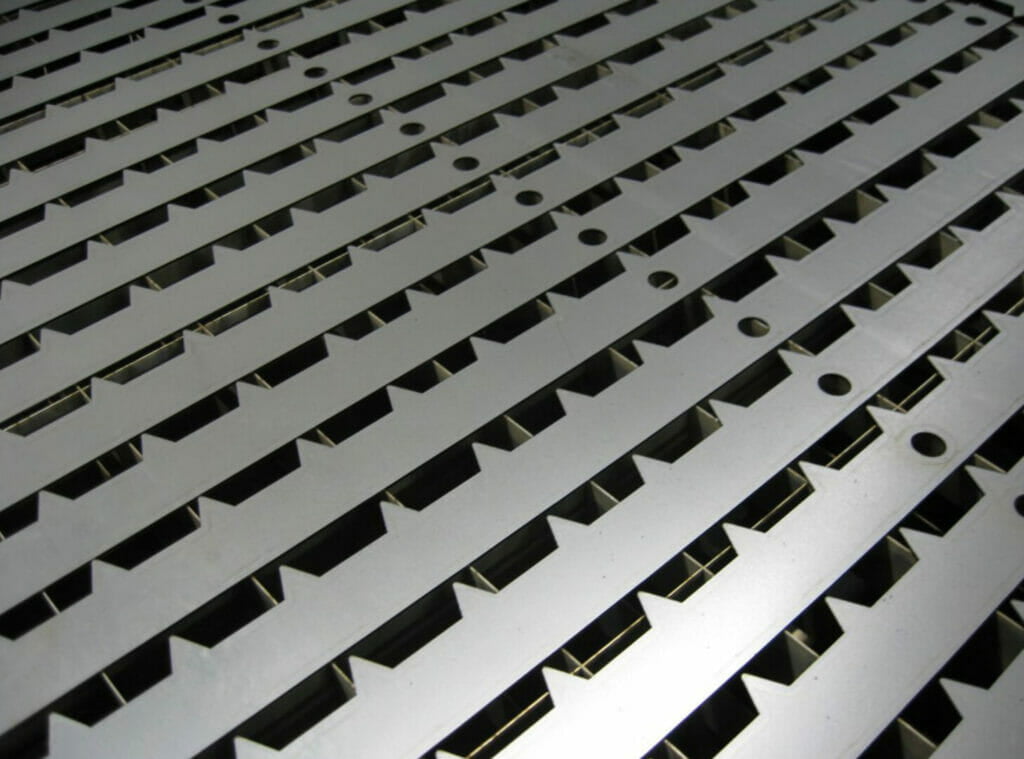
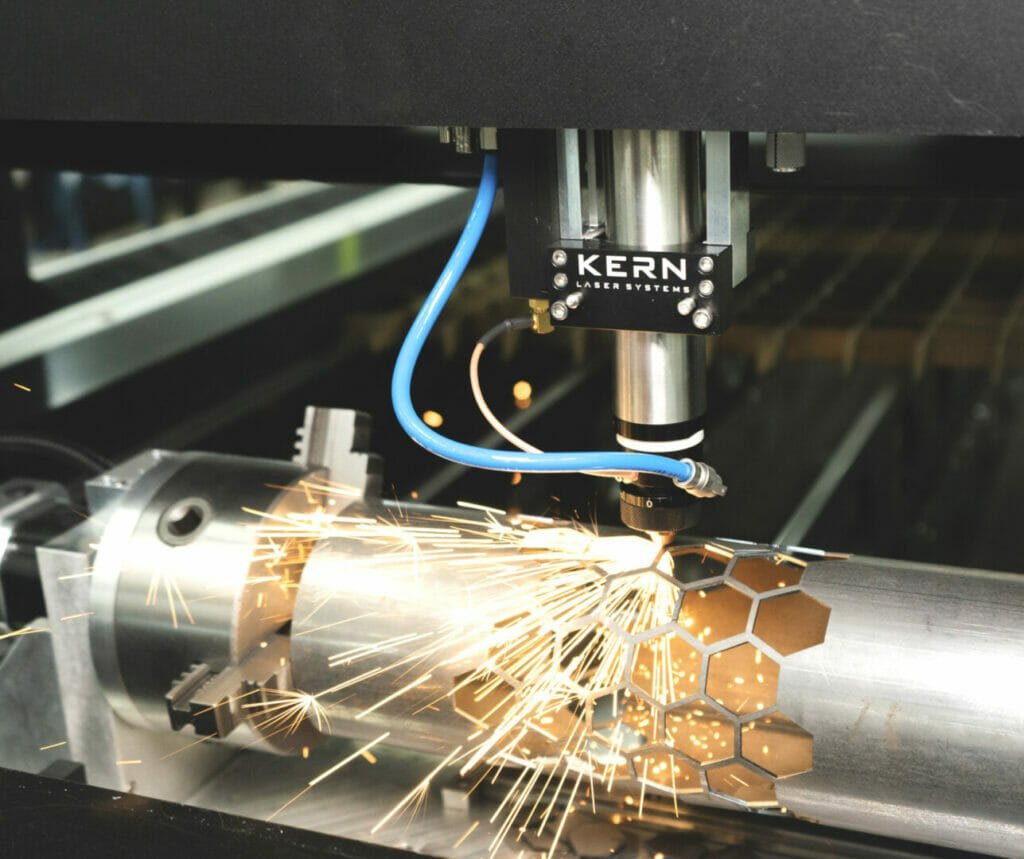
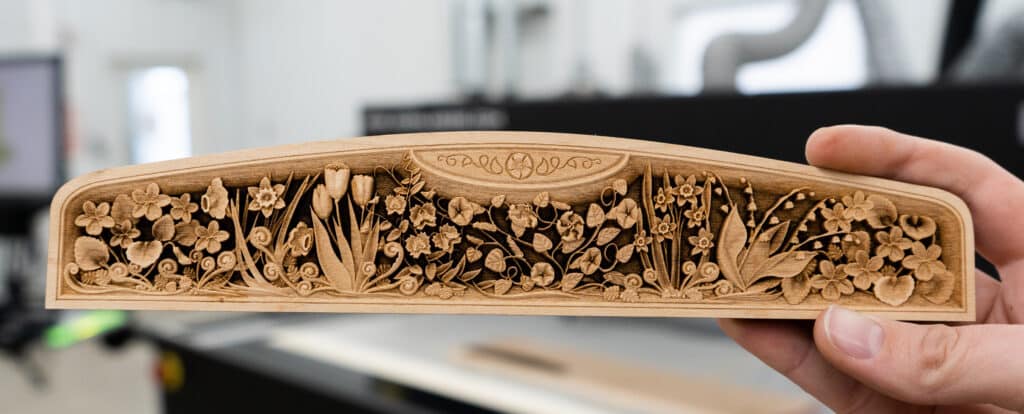
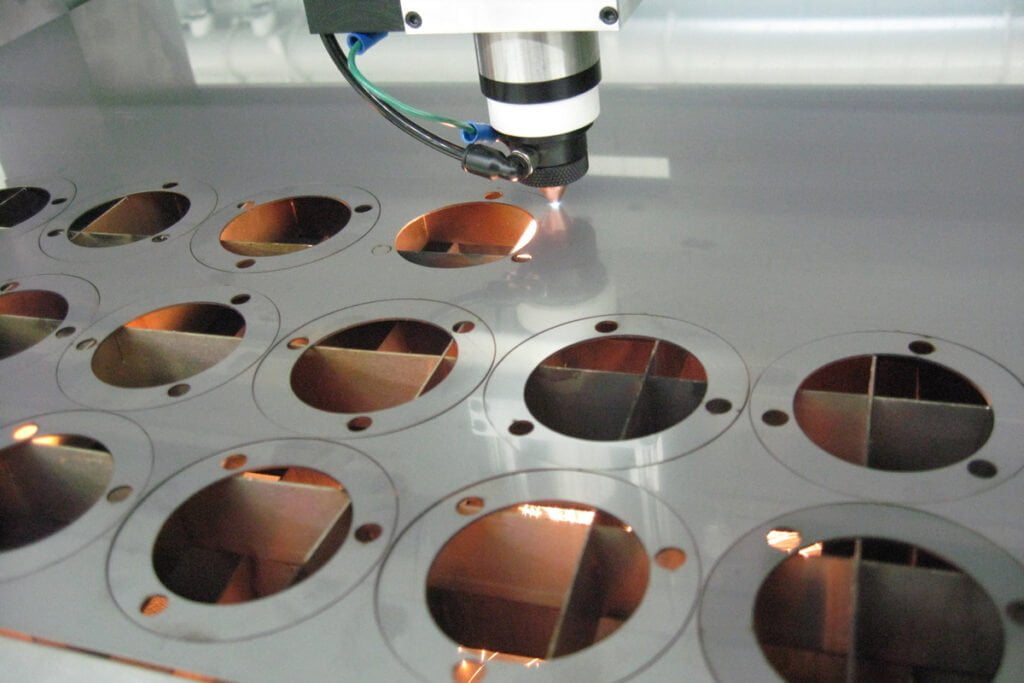
According to Digital Journal, paraphrasing a Market Research Future analysis, the laser cutting machine market is on track to reach a nearly $6 billion value by 2030. Growth in the industry is driven by a number of factors, including growth in several manufacturing sectors that rely on laser cutting. At the local scale, we see trends among our customer base too. In this post, we’ll