Customer Review
Cabin Digital – Customer Testimonial
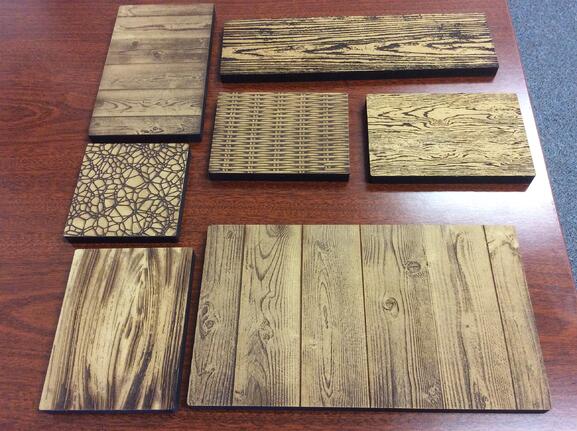
Cabin Digital LLC is a small company in Fredericksburg VA. We provide rapid prototyping services to the government and commercial clients. About 18 months ago we made a decision that a CNC laser cutter/engraver might be a good next tool to complement our CNC Plasma cutter, 3D printer and the rest of our team’s tools. That started our journey and we share this with our fellow