A Custom Trophy Build
Do you have a need to process wood, plastics, metals and foams with one machine? Kern offers this versatility for a wide spectrum of customers and ultimately their imagination is their only limitation.
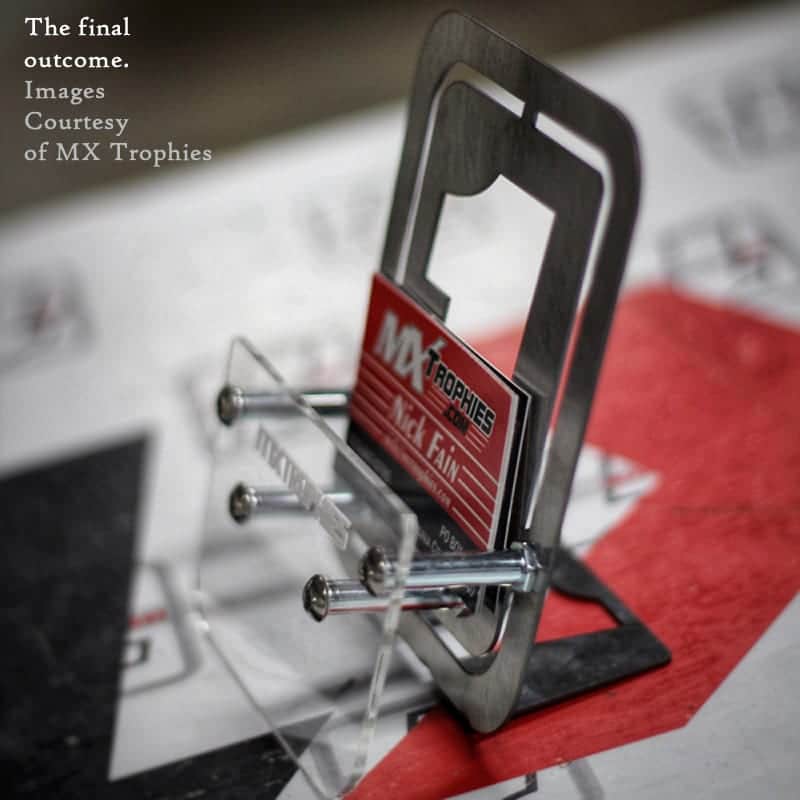
MX Trophies, a Kern customer, uses their creative skills daily to produce custom awards, plates and medals. The ability to personalize individual products to each event allows them to stand out from their competition. Here is how MX Trophies uses a combination of stainless steel and acrylic to create a custom business card holder.
MATERIALS NEEDED:
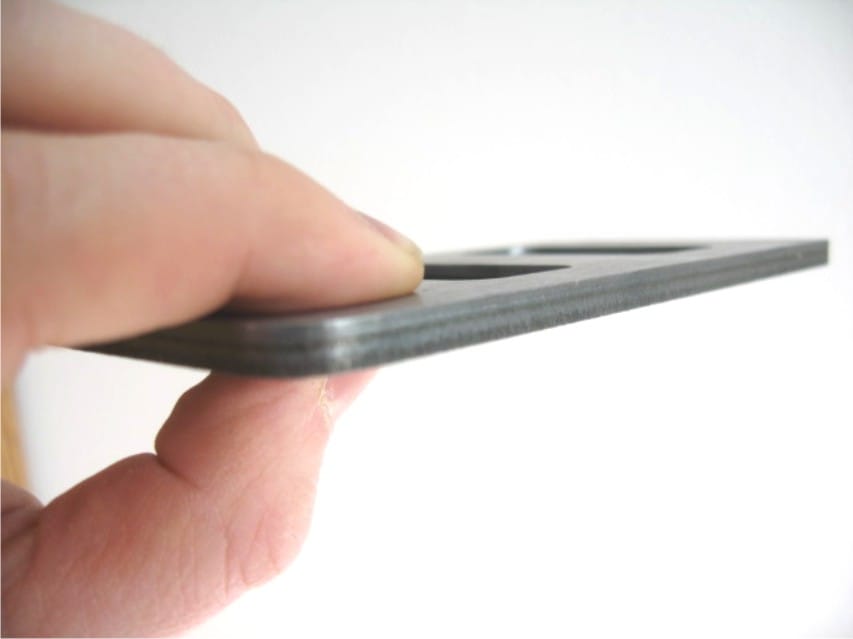
- .050″ stainless steel
- .125″ cast acrylic
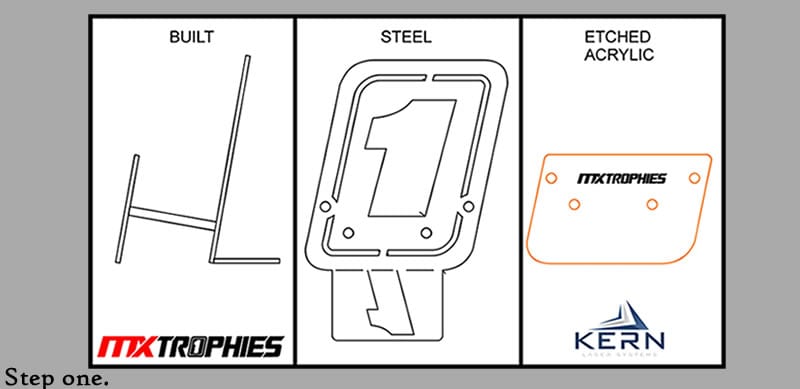
Step 1: Create and Export File
Within CorelDRAW, multiple cut-line colors are used to assign settings to the different substrates being cut. The image or text is added to areas that need to be engraved. Once the file is complete a simple export tool sends the creation to the laser.
Step 2: Set Parameters
KCAM software is used to set the laser power, speed, and other common settings.
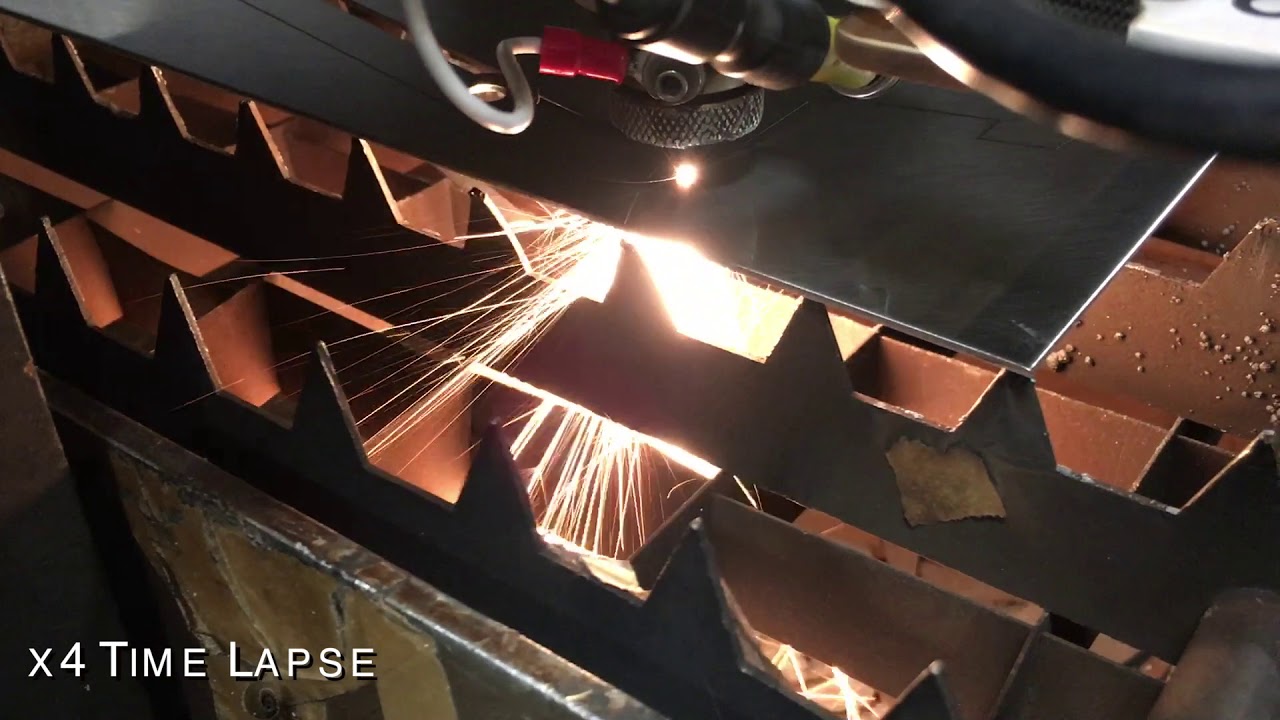
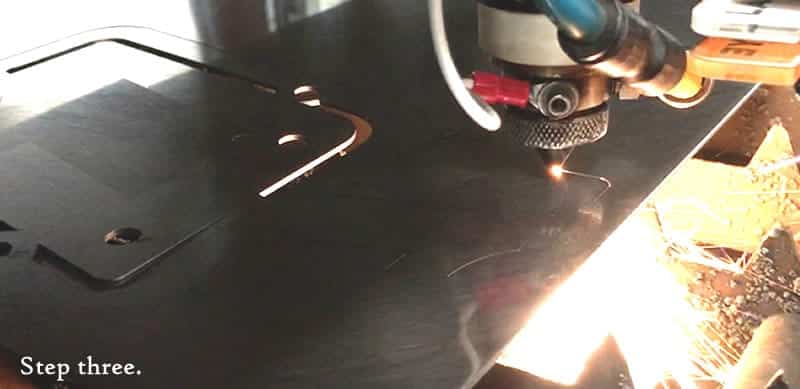
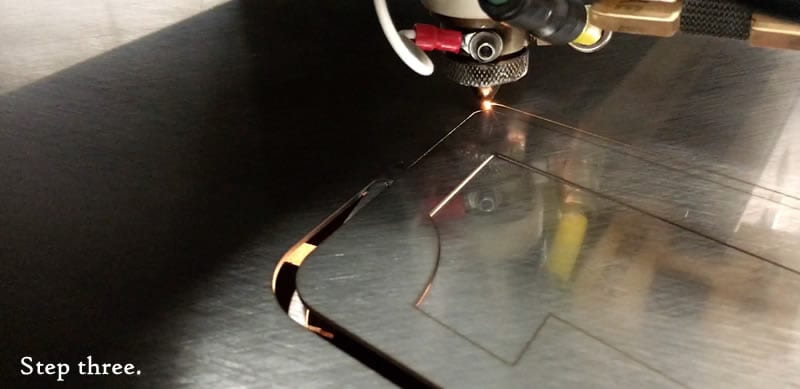
Step 3: Cut Stainless Steel
Load the steel sheet and adjust the focal height of the metal cutting assembly. Enable the cut-line colors assigned for the stainless and click Start.
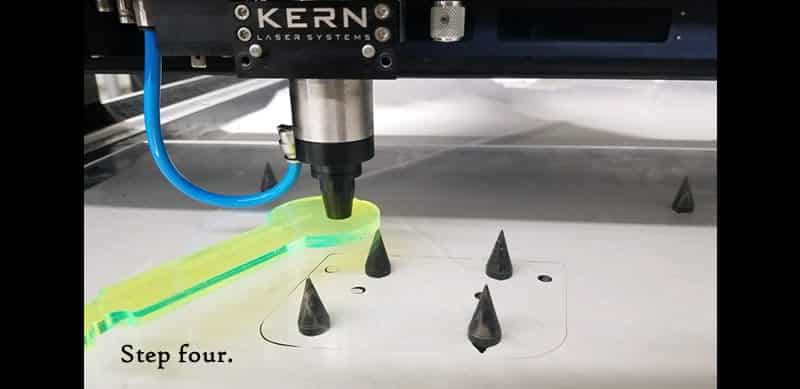
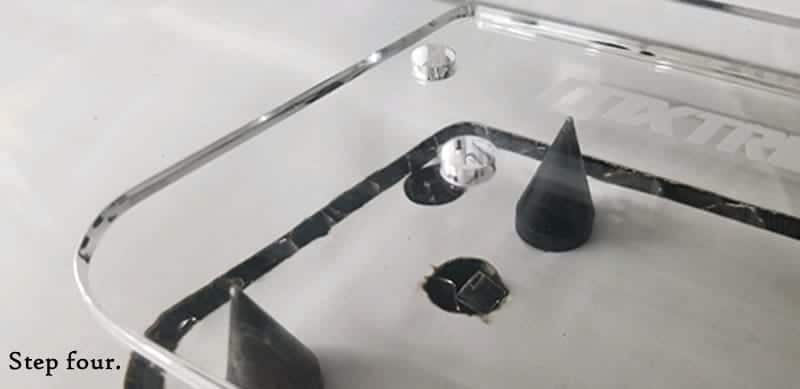
Step 4: Cut and Engrave Acrylic
Install the acrylic processing head and honeycomb bed. Add standoffs to reduce flashbacks on the back side of the acrylic being cut. Load the acrylic sheet. Enable the cut-lines color assigned to the acrylic as well as the engraving option, and click Start.
Step 5: Assemble
Suggested Parameters (250 Watt Laser):
.050” Stainless Steel
Speed: .75”/sec
Power: 90%
Frequency: 1000Hz
Assist Gas: Oxygen (100 psi)
Acrylic Etching
Speed: 50”/sec
Power: 20%
DPI: 300
Air Pressure: 12psi
Acrylic Cutting
Speed: .5”/sec
Power: 40%
Air Pressure: 5 psi
Watch the Build Process: