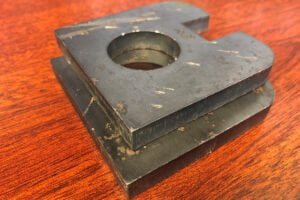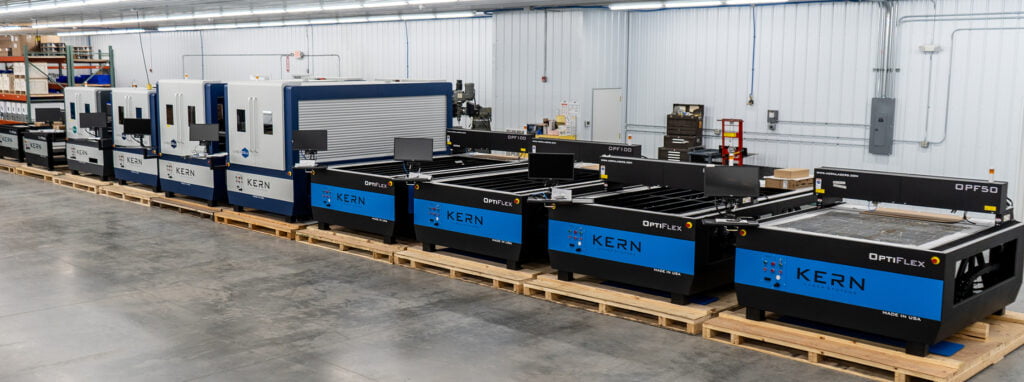
Cutting mild steel with a CO2 laser isn’t just possible, it’s an excellent choice for those seeking clean, consistent and precise cuts. In this post, we’ll be discussing tips for laser cutting mild steel. When equipped with the laser cutting option, Kern’s CO2 lasers are quick and efficient at mild steel cutting.
The following tips will help operators be successful:
1. MATCH MATERIAL THICKNESS AND WATTAGE
As you likely know, the wattage of a laser will dictate the thickness of mild steel you’re able to cut, and the speed at which you’re able to cut it.
Check out the manufacturing specifications of your laser’s system to see what thicknesses of mild steel different laser wattages can cut. While there may be some variation, the manufacturer recommendations provide an excellent guide.
2. PIERCE YOUR MILD STEEL
An important part of cutting mild steel is the moment when the laser first pierces the material. Keep in mind that the settings during the piercing process will be different than the settings during cutting. The pierce point requires lower power, about half the air pressure and steady contact for 1-2 seconds.
3. DON’T CLIP YOUR BEAM
Laser beam placement is a key component of cutting mild steel. The goal here is to align the beam so that it goes directly through the center of the nozzle.
The copper nozzle on Kern laser systems has an opening size of about 60/1000 of an inch. If the beam is not centered, the nozzle will clip the beam. A clipped beam spells all sorts of trouble for cutting mild steel.
First, it will decrease the power, which can prevent the beam from having enough strength to pierce the material. Additionally, it will prevent the laser from making clean cuts. Instead, it will leave the mild steel with burrs and unclean edges.
4. ADJUST YOUR FOCUS POINT
In order to effectively cut mild steel, the copper nozzle needs to be at a distance of 0.010″-0.020″ from the material being processed. This provides the laser beam with the ideal focus point for the laser to perform optimally. This also allows the assist gas to penetrate into the cut to help clear away debris and create a precise clean cut. If your nozzle is too high, not only would your nozzle be out of focus, but the assist gas would be dispersed over the cut leaving debris within the cut.
This same principle is in effect when using a magnifying glass to concentrate the sun’s heat. Making slight changes to the height of the magnifying glass affects how powerful the beam is, just like adjusting the height of your laser’s copper nozzle affects the beam’s power.
5. CHECK YOUR OPTICS
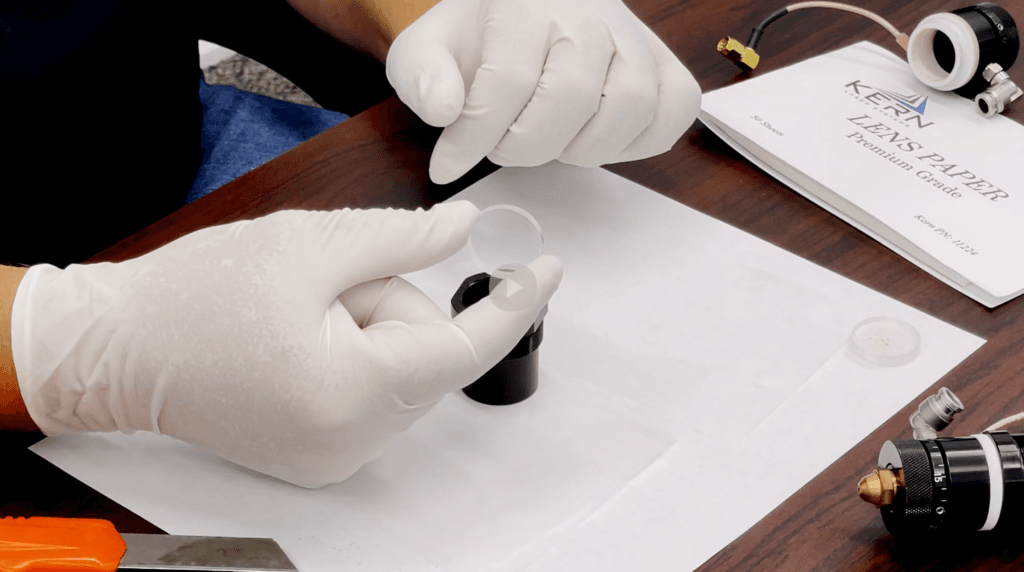
A laser outfitted with bad optics is not going to cut mild steel effectively. Check your mirrors and your lenses to ensure they are free of debris.
6. CHOOSE YOUR ASSIST GAS
When cutting mild steel, choose either oxygen assist or regular shop air. For thicker mild steel, choose oxygen assist with a lower psi.
7. ADJUST YOUR POWER SETTINGS
Although it does take a fair amount of power for a CO2 laser to pierce and cut mild steel, too much heat will leave burn marks on the material. As a rule of thumb, less heat is better for mild steel.
Instead of defaulting the power setting at 100%, try to figure out the lowest power setting that will still allow you to cut the material. The lower setting will help you prevent marks and dross on the back side of the mild steel.
CUTTING 18 GA MILD STEEL
In this video, Jake Shaw will lead you through the basics of cutting 18 gauge mild steel with a 400W CO2 laser.
If you have additional questions about cutting mild steel with a CO2 laser, please contact us. We would be happy to provide you with additional information.


