Top 5 Tips For Lasering MDF

etched wood

MDF (Medium Density Fiberboard) is a strong, engineered material made of wood fibers, wax, and resin. The ability to laser cut profiles and engrave deep numbers and logos has much money-making potential in the crafting, signage, interior design, and furniture industries.

Laser cutting is an easy way to process shapes with minimal scrap material. A common problem I see from customers who are trying to use their laser to get the most production and the best quality parts comes down to incorrect machine settings. I would like to spend some time and look over all the essential machine settings to get the best results for laser cutting and engraving MDF.

The following 5 parameters are crucial to understand to gain the biggest benefits from your laser system.

POWER

Each Kern laser system is specified by its laser wattage. The actual laser wattage emitted from the laser tube is known as laser power. The higher the wattage, the more power the laser machine has. Every Kern CO2 laser can cut MDF at full 100% power. At this full power setting, you will maximize your machine’s efficiency, or it’s ability to cut out the greatest number of pieces in the shortest amount of time.

Alternatively, you may only be needing to engrave the surface, mark a logo, etch a part number. In these instances, a REDUCED power setting may be best, resulting in a depth and color according to your desired look.

A final consideration with laser power is adjusting the PWM (Pulse Width Modulation). The Kern CO2 laser is a pulsing laser that allows you to adjust the pulsing frequency during the laser process. This frequency range varies from 100 to 50,000 Hz. I have found the peak cutting performance for MDF processing to be in a range from 3800 to 5000Hz. If you increase the pulsing to 10,000 and above the audible noise level will be noticeably quieter, but it will not be in the peak cutting performance range.

SPEED

The goal when cutting MDF is to complete the job in the least amount of time, with the highest quality results. A point of consideration for clean fast cutting is to push the speed as fast as you can and still get completely through the material. One of the problems with cutting too slow is that you will create more dark char or burning on the profile as well as dark smoky spots on the back of the material. This will require your operator to clean the honeycomb bed more often, as well as require a more detailed cleaning of the parts.

When it comes to engraving the MDF, a faster speed will produce more smoke and fumes so be sure the top-side engraving vacuum is enabled and pulling away any lingering smoke from the engraving process.

Sometimes a much lower DPI of the image or artwork will be sufficient when engraving MDF boards and panels. This decrease in picture resolution will allow your overall speed to increase, which will reduce the time it takes to complete the job.

VACUUM

When cutting the MDF material you will notice a good amount of smoke being generated by the lasering process. Most of our machines are equipped with two 2-3 HP blowers, and it is essential to ensure your vacuum system is in operation and running optimally.

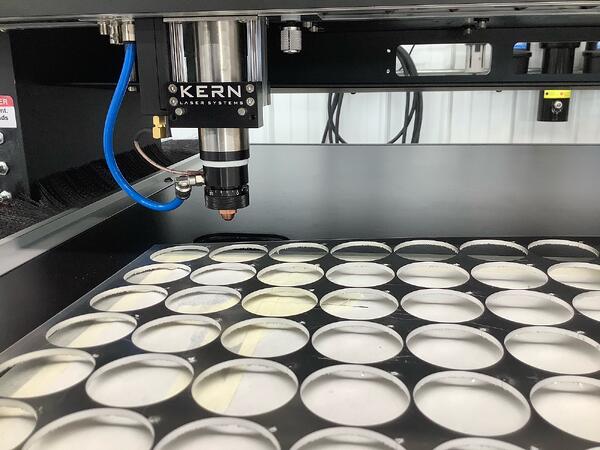
One of the import steps when setting up your MDF cutting is to have a powerful suction holding your sheet of material down flat. Since you do not have any clamps to secure or keep the material from bowing up, you will need to be sure to have your vacuum running at full strength as well as sealing off any open area of honeycomb to ensure full vacuum potential.

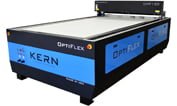
When engraving with the OPTIFLEX or LASERCELL machines, the top gantry has a vacuum manifold built into the underside of the moving gantry. This manifold is connected to a vacuum unit that assists in the removal of smoke and debris. You will notice when you engrave a piece of MDF the white smoke will rise up into this manifold area and not be deposit back onto the material.

The most misunderstood aspect of cutting this material cleanly is assuring you have your material flat and held down so the nozzle will stay in its proper focus position.

FOCUS

The Kern laser systems have an adjustable tube that allows the movement of the lens assembly into the correct focusing position. Once the lens has been moved to the proper height using a lens spacer tool, the lens assembly has been focused. Now, the part of the beam with the thinnest width can cut the MDF material quickly and cleanly.

If, over time,  the material starts to lift up, or the honeycomb table is bent you may notice some wider lines during the cutting process. This is because the distance from the center of your lens to the top of the material has changed and it is no longer in focus.

Several times I have seen where the operator has assumed the lens assembly and the lens spacer tool spacing is correct, but it was not due to the material lifting or the bent honeycomb. Typically, this space is set at the factory so you can quickly place your cutting lens into focus, but in your shop there are other variables that can skew the accuracy of this focusing tool.

The best way to find your focus height is to do a focus test. This focus test can be found in our video library (also shown below) and you only need a a piece of paper or scrap wood. The goal of the focus position it to have the finest or narrowest beam width possible. This may require the operator raising or lowering the internal lens position OR the focus dial slightly to get the lens into the correct focus height.

AIR ASSIST

Finally, another important parameter when cutting this hard fiberboard is to use a good amount of assist air when cutting or engraving. Mounted on the lens assembly, you will find an air elbow. The lens assembly has a ¼” airline that allows for a steady stream of air flowing out the nozzle during the laser process.

The air compressor source will need to have a moisture and oil trap to prevent any contaminants from getting onto your lens. The best pressure to use when cutting MDF will depend on the nozzle size you are cutting with, but I have found the best cutting and engraving pressure with a 0.100″ diameter stock nozzle to be 40 psi.

Kern’s KCAM Laser Software has advanced settings to allow you to piece the material with one air pressure and then cut the profiles with another. The machines have two air gauges that will assist in getting the cleanest entry hole as well as allowing a clean look by pushing and spreading the vaporized MDF away from the kerf path.

If you plan on cutting MDF in the future, be sure to learn and review these five essential parameters to cut your material cleanly, smoothly, and with maximum speeds.
What You Need to Know About Laser Cutting Aluminum

production cutting

Aluminum is one of the more challenging materials to laser cut. That’s not to say it can’t be done, but it does require a bit of expertise. Among other things, it can be difficult to create a clean-cut edge when laser processing aluminum. In this post, I’m going to cover some of the properties that make aluminum a challenging material for laser processing and provide a few tips to help your laser cutting efforts be more successful.

Laser Cutting Aluminum

laser cut aluminum

Whether you’re laser etching aluminum or cutting thin aluminum sheets, the tips and information outlined here will help you be successful with this product. The first thing to understand is what unique characteristics aluminum brings to laser processing.

Why is aluminum more difficult to cut? Aluminum has some properties that react differently to laser beams. These properties have to do with its reflectivity, molecular structure and thermal conductivity.

DIFFICULTIES OF ALUMINUM AND LASER PROCESSING

When you project light onto a reflective material, it bounces back or scatters. So when the light of a laser beam makes contact with aluminum, the tendency is for it to bounce or scatter as well. This can make laser cutting difficult.

Solid and stable molecular structures are easier to cut through than softer ones. Because aluminum’s molecular structure is more malleable, the laser beam is not as effective at piercing through it and creating clean cuts.

Finally, aluminum is a heat conductive material. As such, it quickly absorbs heat, which is needed for clean cutting. Also, when you dissipate the heat it makes smooth laser processing difficult.

All of these reasons are why laser cutting aluminum is difficult. But just because something is difficult doesn’t mean we can’t do it. Over the years, we’ve fine-tuned our aluminum cutting capabilities to make it an easy and effective process.

HOW TO CUT ALUMINUM SHEET

While it is reflective, soft and thermally conductive, aluminum can still be cut with a CO2 or fiber laser. High-speed laser beams make it possible to cut various alloys of aluminum, including aerospace and marine-grade aluminum alloys.

USING A METAL CUTTING HEAD

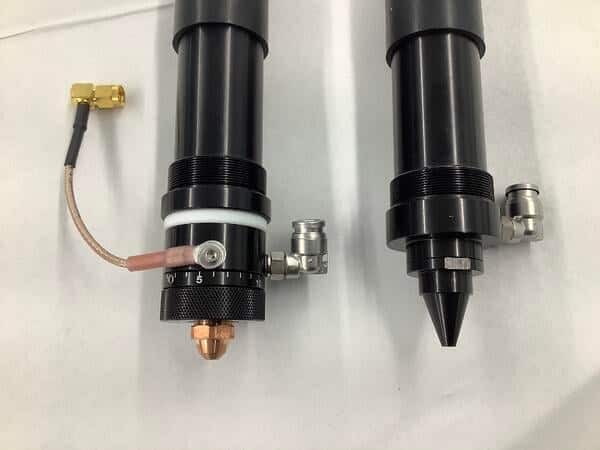
When cutting aluminum with a CO2 laser, we’re using a metal cutting head, which is a different assembly than the one used when cutting non-metal materials like plastic or foam.

head assemblies

The metal cutting head assembly has a protective window for spark reflection and a variable/adjustable focus knob. These features make cutting aluminum sheet much more effective. It eliminates the issue of finding the right focus position and setting the perfect height.

CREATING A CLEAN-CUT ALUMINUM EDGE

In order to get a clean-cut edge with aluminum cutting, you want to focus on two things: high pressure and gas assist. These two combined will effectively eject any molten material quickly, preventing the buildup of a rough edge. With aluminum, the faster you cut, the smoother the edge will be. That’s also why higher wattage lasers will perform better when cutting aluminum. They allow you to push the kerf line faster.

Unlike other options, like routers or CNC cutters, laser cutting aluminum is a fast, efficient process. It also allows for no contact cutting, so the only thing touching the material during processing is light. There is absolutely no need to clamp down or otherwise secure the material. Not only does this save you time, but it prevents any impressions or damage making its way into the material.

Laser Cut Pipes, Rods & Other Cylinders

Large Format Laser Cutter and Laser Engraving System

We know lasers are excellent at cutting and engraving smooth, flat surfaces, but what happens when the material or object you want to work with is round? With the pipe rotary attachment option, flat table laser systems can process all sorts of cylindrical items like pipes, rods, canes, walking sticks, flashlights, tumblers and liquor bottles. Basically, if it is cylindrical in shape and made out of a laserable material, it can be cut or engraved with a properly outfitted laser system.

ABOUT THE PIPE ROTARY ATTACHMENT 

Our rotary attachment is compatible with every laser system in the Kern lineup. Adding a z-axis rotary to a Kern laser system enables operators to cut or engrave cylindrical items with ease. The rotary option can be removed when not in use, allowing the system to retire to normal flatbed operation. This versatility is key for many owners and operators.

Watch the video to learn more about the pipe rotary option and see it in action:

PIPE CUTTING MACHINERY OPTIONS

There are two different rotary setups available from Kern Laser Systems.

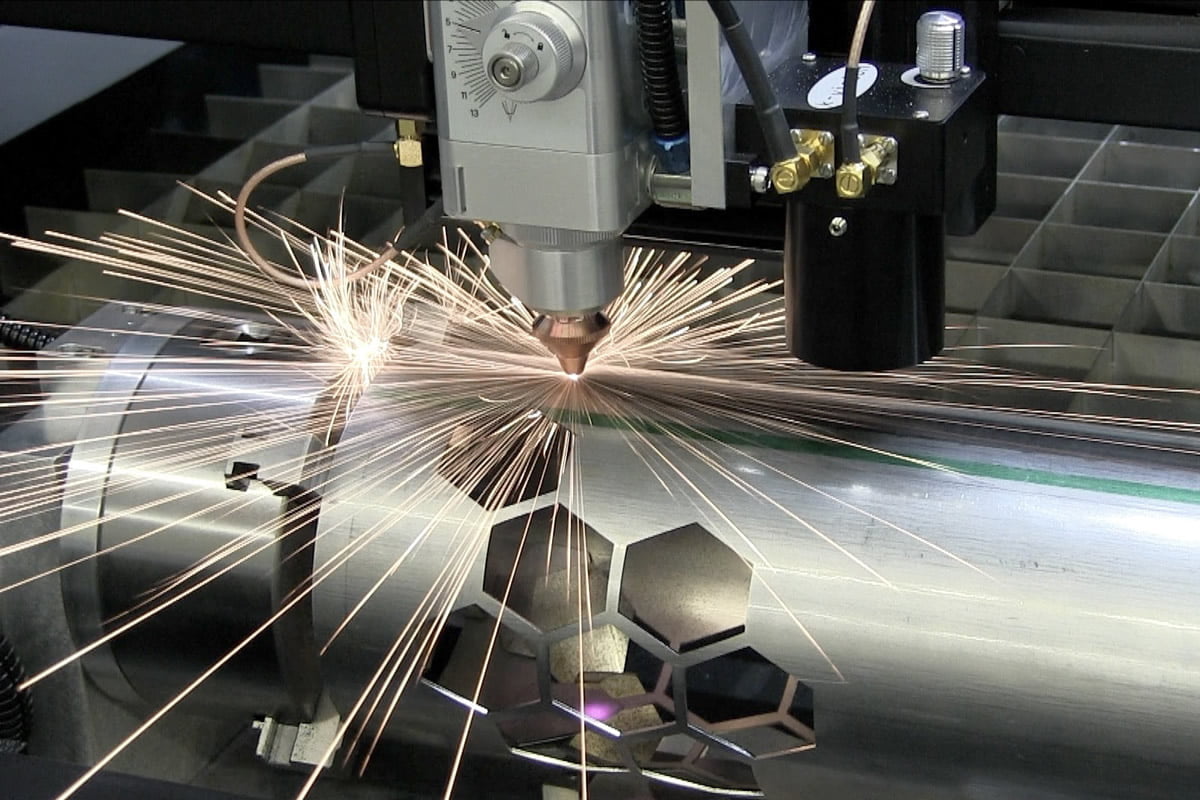
The Chuck Rotation setup implements a lathe chuck to firmly secure pipes in their place. A tail stock pushes up against the opposite end to keep the pipe rotating on center during curing. The tail stock is able to be adjusted on a rail to accommodate different lengths of pipe. Adjustments to the rotary chuck can be made to accommodate pipes with a diameter up to six inches. It is a popular option for manufacturers of motorcycle exhausts, large filters and pipe joints.

fiber laser cutting metal

We also offer an alternative rotary device that relies on rollers to spin a cylindrical item, allowing engravings to wrap around the entire outside surface of a product. Since there is no chuck or talk stock holding the ends of the product, the laser head has full access to the entire item. This rotary is a popular choice for engraving applications where the entire surface of the product is to be engraved. Adjustable rollers allow for the accommodation of different sized products. Common applications for this roller rotary are walking sticks, flashlights and tumblers.

ROTARY LASER ENGRAVING WITH KERN LASER SYSTEMS

As mentioned early, our laser rotary attachments are compatible with the full lineup of Kern laser systems. If you’d like to see this attachment in action, please schedule a demo. We offer both remote and in-person laser demonstrations.

How a Vision Camera Laser Attachment Can Be a Gamechanger

printed material vision laser

Camera vision systems are nothing new. Various areas of industry have been using them since the 1980s-90s. Why? Because industrial camera systems can perform quality assurance checks and support consistency among mass produced products and components. On lasers, vision cameras go a long way in supporting quality and consistency via course correction.

Here at Kern Laser Systems, we offer a machine vision camera called k-vision. But before we talk about that, let’s start with the basics.

k-vision sheet

WHAT IS MACHINE VISION?

Machine vision is a way to give computers the ability to see. More specifically, they’re able to digitize an image, process the digitized image as data and use the data to influence an action. Machine vision is commonly used for material inspection, object recognition, electronic component analysis and pattern recognition.

For Kern Laser Systems, machine vision is a way to ensure laser cutting efficiency by compensating for processing issues like rotation and distortion.

MACHINE VISION VS LASER PROFILERS

Unlike laser profilers, which measure a laser beam’s energy output and waveform, machine vision provides image-based inspection and analysis. Operators use data from laser profilers to ensure the strength and stability of their laser remains consistent over time.

While you may hear machine vision and laser profilers being used interchangeably, the reality is the two technologies are fundamentally different and used for different purposes.

Now, let’s talk about k-vision, our proprietary machine vision camera.

MACHINE VISION CAMERA FOR LASER SYSTEMS

Now, we don’t like to throw around words like perfection, but the capabilities brought by a vision cameral laser attachment might bring your project so close to perfect that it’s the best word for the job. K-vison is a fully-integrated hardware and software solution that turns your laser cutting table into an advanced digital finishing system. And it’s compatible with every laser system in the Kern lineup.

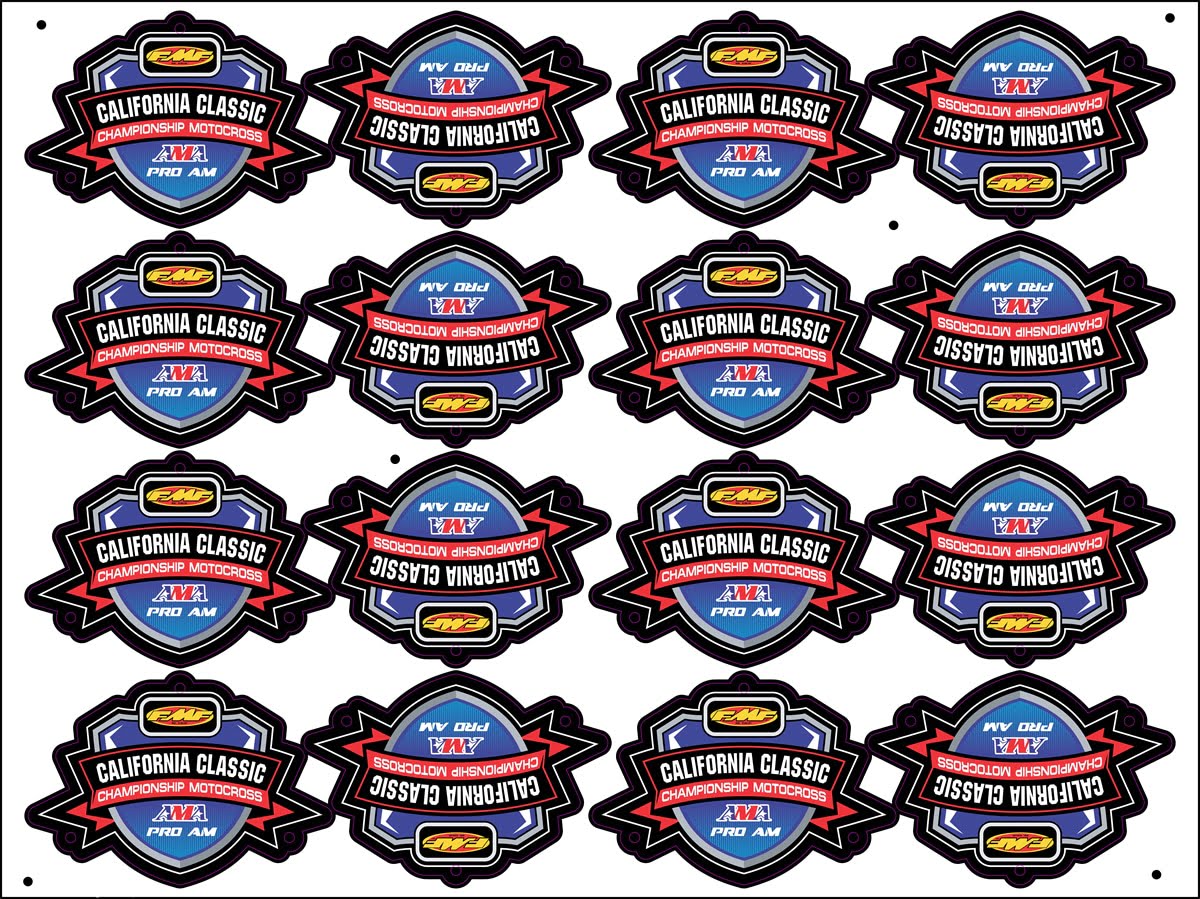
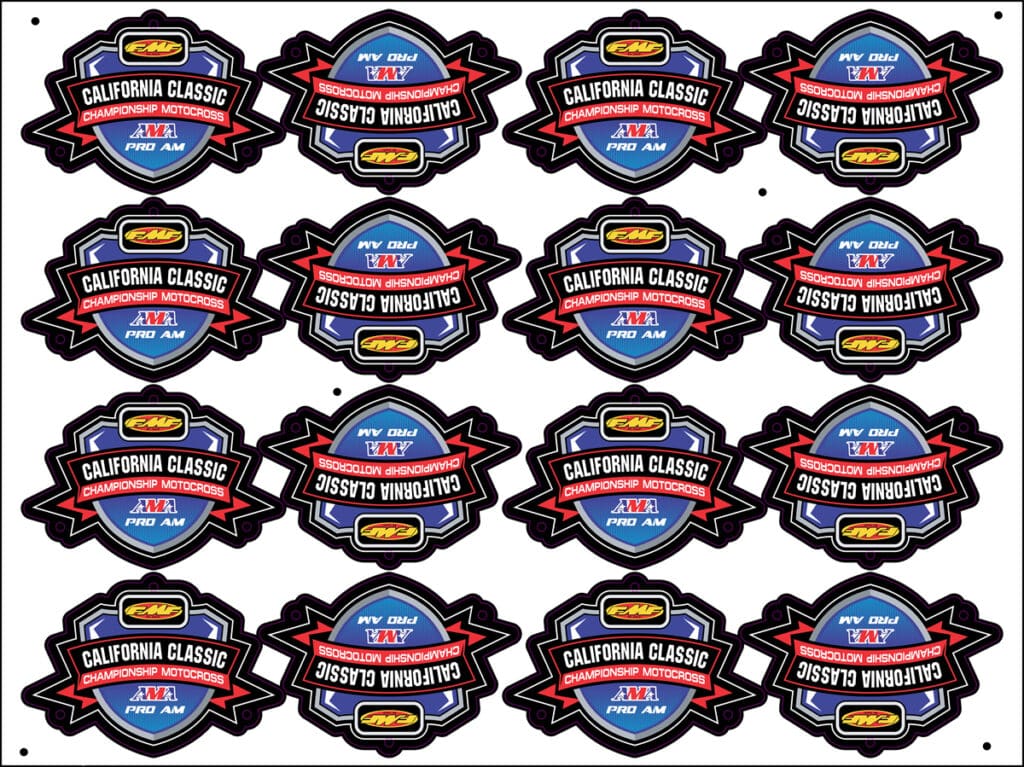
K-vision relies on a nozzle-mounted camera to automatically measure the dimensions between registration marks on printed materials. The system uses inputs from these measurements alongside the registration marks of the cutting file to ensure the accuracy of the laser’s path.

K-vision makes it possible for the laser system to make the slight adjustments and the slight adjustments result in a perfectly matched cutout in the material being processed.

When it’s not in use, the k-vision camera system is easy to remove and store in a protective box.

How 3D Wood Engraving Can Set Your Laser Projects Apart

laser engraving system

When it’s done well, 3D laser engraving yields stunning results. Here’s an inside look at the process of 3D wood laser engraving, along with some examples of what others have created.

First, let’s discuss how 3D engraving is different from surface engraving.

WOOD LASER ENGRAVING: SURFACE VS 3D

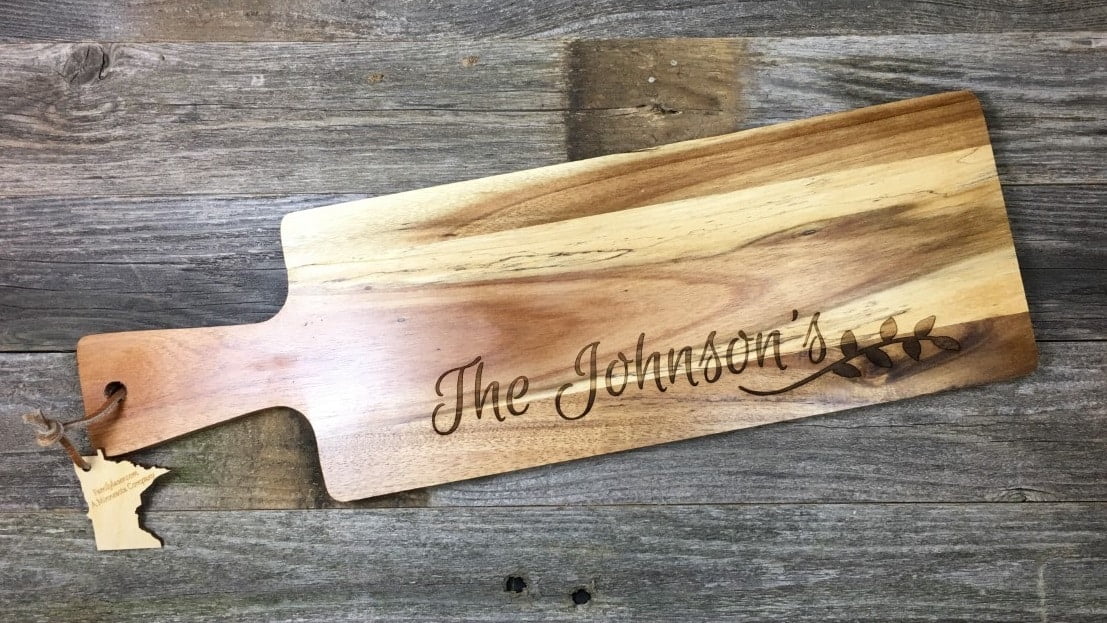
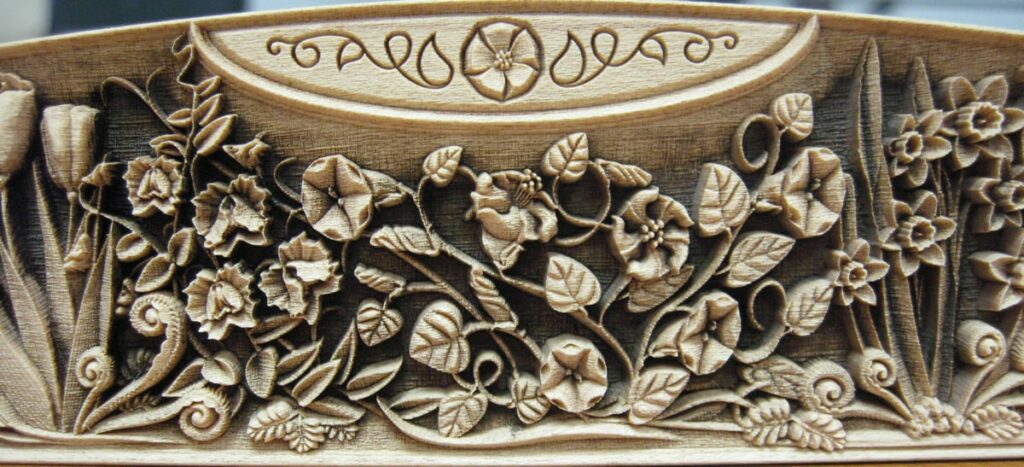
Surface engraving is a way to mark or etch materials, and it relies on a lighter wattage. 3D engraving is a way to put depth into the wood, and it requires higher wattages and plenty of power. Of course, variables like the type of wood and the intricacy of the pattern also impact overall speeds and the required wattage.

Here’s an example of each:

SURFACE ENGRAVED WOOD

wood cutting board

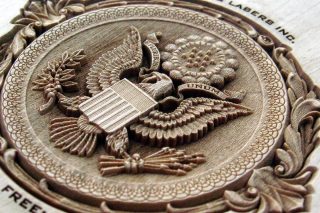
3D ENGRAVED WOOD

3D engraving

LASER WOOD ENGRAVING SERVICES

When it comes to laser wood engraving services, the options are near-endless. Whether you’re interested in decor, signage, memorials or something else entirely, 3D laser engraving allows your creativity to run wild.

Our customers have used Kern Laser Systems to create one-of-a-kind 3D engravings. Here’s a look at some of their projects:

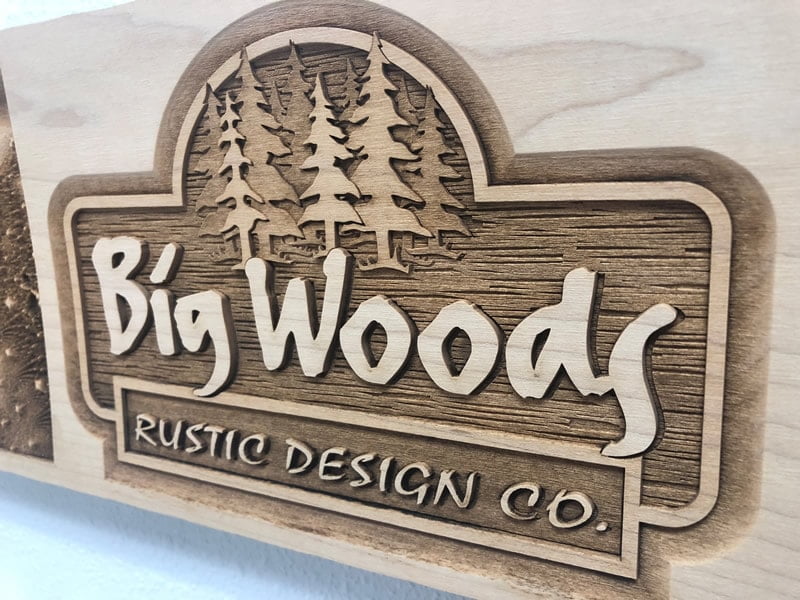
DECOR AND SIGNAGE

3D laser engraved decor doesn’t have to have sharp lines and intricate precision. These decor items feature a more rustic quality.

3d wood egraver

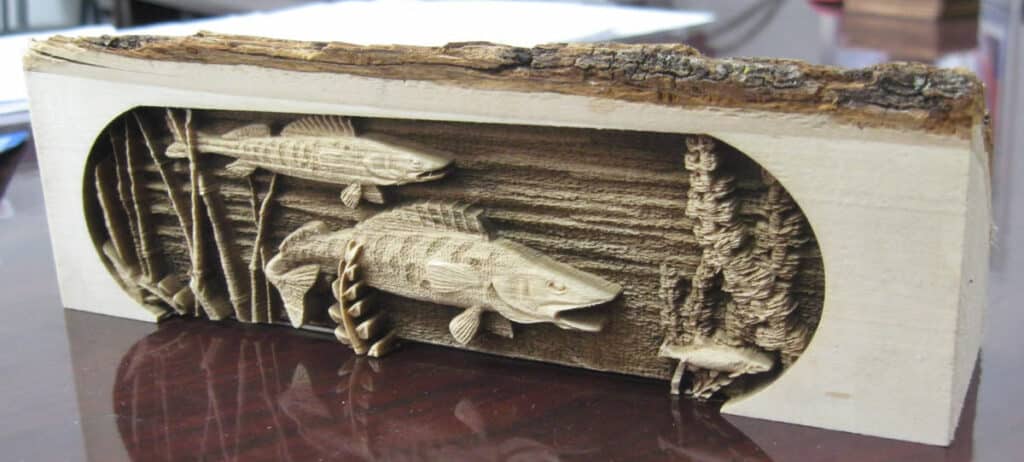
This one almost appears as if it could’ve been done by hand. Just that the laser achieves this look in much less time.

fish 3D engraved

MEMORIALS

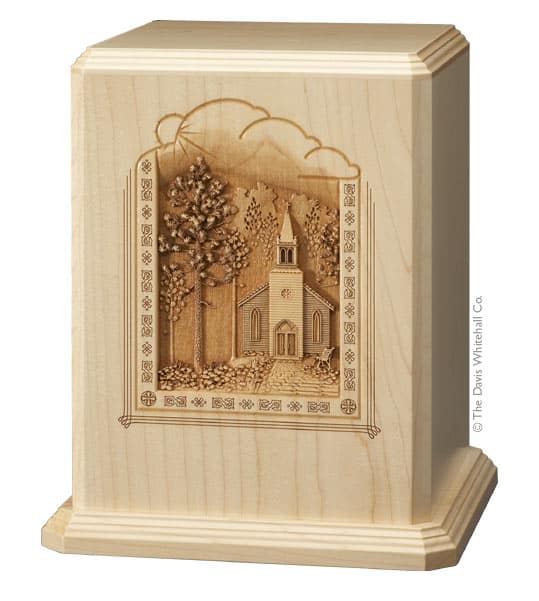
3D laser engraved urns provide a fantastic way to showcase the personality and interests of loved ones.

urn

CREATIVE PATTERNS

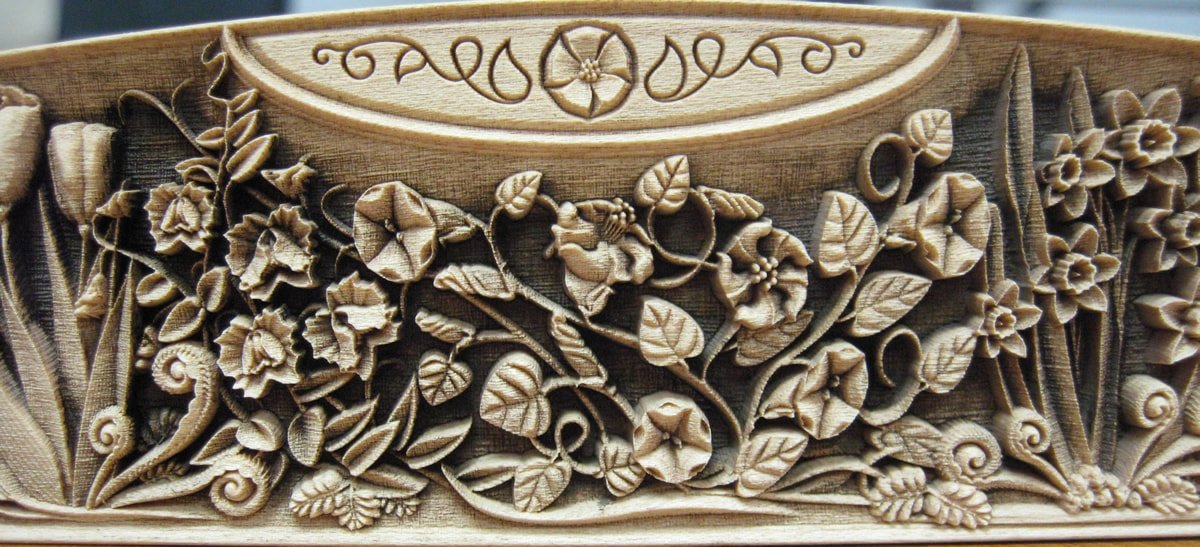
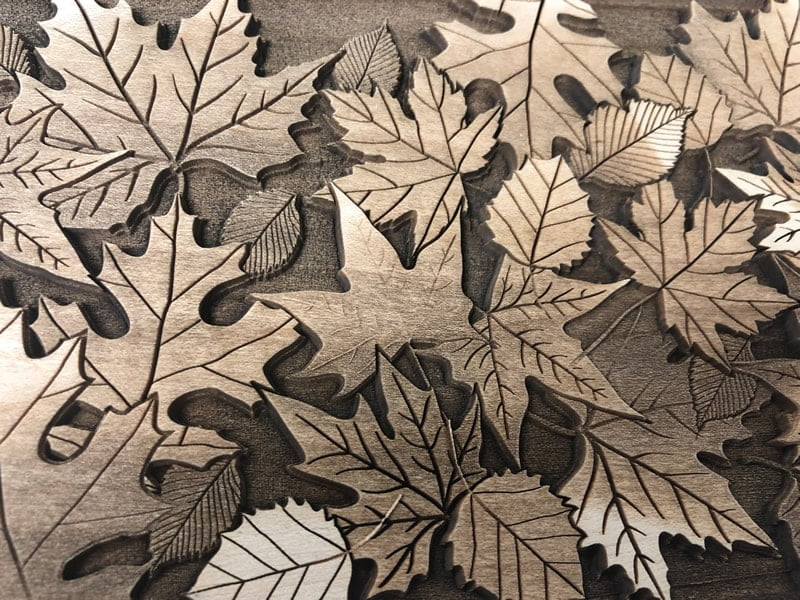
Lasers rely on grayscale to create the varying depths of a 3D wood engraving. Light gray leads to shallow engraving, while dark grays lead to deeper engraving.

leaves

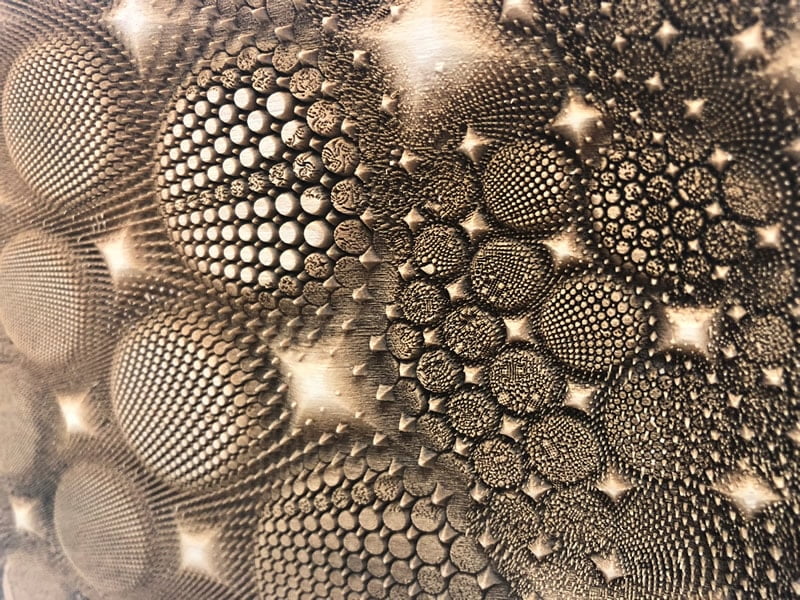
Here at Kern Laser Systems, our KCAM software can read 256 different shades of grey. The level of intricacy it enables is breathtaking.

3d effect

HOW TO LASER ENGRAVE A PHOTO ON WOOD

As I mentioned, the laser relies on grayscale to create the varying depths of a 3D wood engraving. In order to laser engrave a photo onto wood, simply changing the photo from color to grayscale usually isn’t enough. More often than not, it will require a bit of custom grayscale treatment.

For instance, if you’re hoping to 3D engrave a photo of someone’s face, their teeth will appear the whitest, which tells the laser to not engrave over those areas. You’ll need to do some custom grayscale work to darken the teeth so that the laser goes to the appropriate depth.

If you’d like to see Kern lasers in action and learn more about 3D laser engraving wood, schedule a demo with us anytime.