 Laser engraving is quickly becoming an industry standard for working with a variety of materials used in today’s modern manufacturing environments. Laser processing generally means working with materials by means of cutting, engraving or welding. While there are numerous types of laser processing, we are going to discuss just one—laser engraving. Laser engraving is a valuable, highly desired type of laser processing, and when it is done well, it yields productive and stunning results.
If you are wondering how laser engraving works, you are in the right place. On this page, we will cover the laser engraving basics, how it works, the different types of materials used, application tips and much more. If you have additional questions about laser engraving beyond what is covered on this page, please feel free to contact us. We have passionate, knowledgeable staff members with decades of experience and expertise with laser engraving. We would be more than happy to connect with you and discuss if laser engraving equipment can enhance or improve your current manufacturing needs.
Now, let’s start with the basics.
 Laser engraving is a non-contact process where an optic assembly is moved over a surface in a side to side sweeping motion. The optic assembly includes a focusing lens which reduces the laser beam to a focal point. The focused laser beam delivers energy to the processing area in a manner which converts a high percentage of the light energy into heat. During engraving, the intense heat of the laser beam makes contact with the surface of a material, vaporizing it and leaving a permanent engraved area behind. It is normal for laser engraving to achieve a certain depth which can be modified by altering the engraving speed and power.
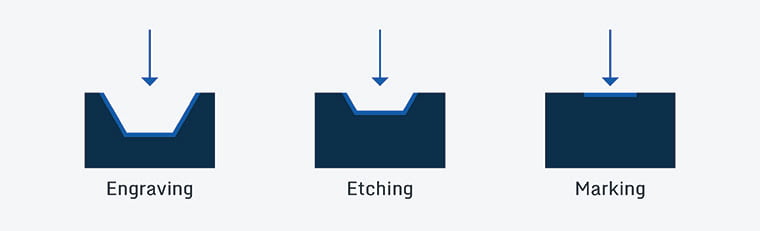
While you may have seen or heard laser engraving and etching used interchangeably, the truth of the matter is that there are distinct differences between the two. Yes, both applications create permanent changes to the surface of a material by the removal of material, but there is more to the story.
 An engraving resolution or DPI (dots per inch) is set in the software. The DPI is used to set the amount of passes the laser beams make over a certain distance. Generally, a higher DPI results in a crisper and more defined laser engraving. 300 and 600dpi are two commonly used laser engraving resolutions that work well for most materials processed by lasers. As material is removed with laser pulses, images or engraved areas are created on the surface of a material. The processed areas are what form the final product.
 1. Focused and flat.
The optic lens which the laser beam passes through focuses the beam down to a small point. In most cases the focal point should be set to the top surface of the material being engraved. This ensures the smallest and most precise beam is removing material during the engraving process. Kern makes this process simple by setting the focus distance at a fixed position inside the beam delivery. A simple spacer tool is then used to set the gap between the nozzle and top surface of the material.
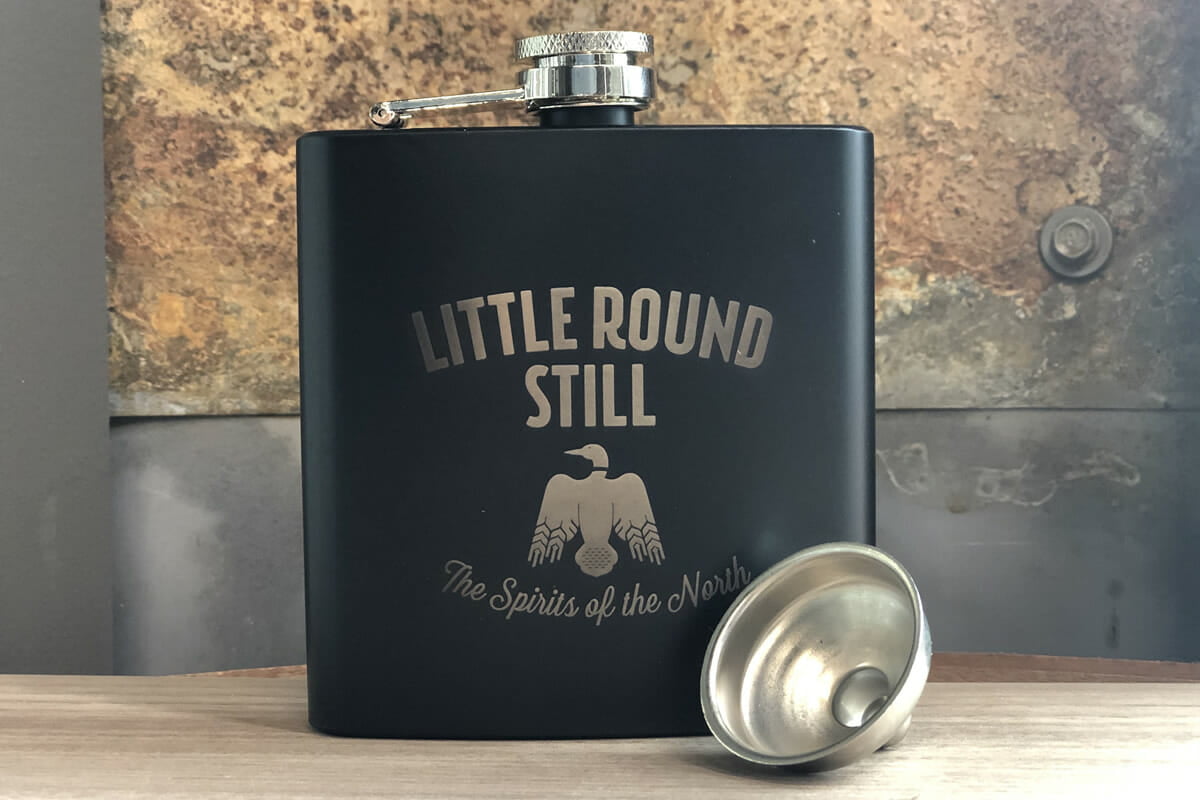
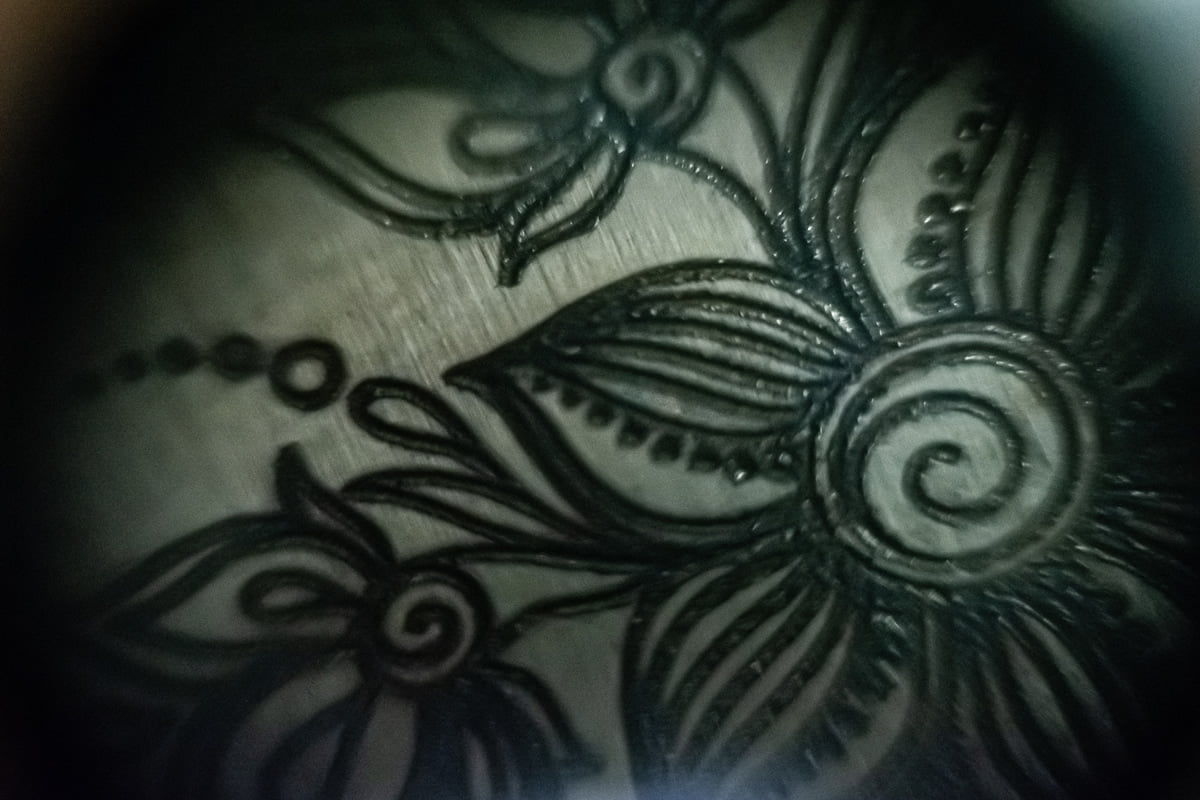
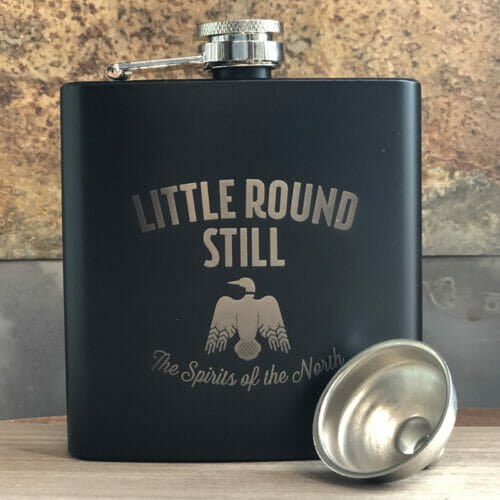
Generally, the best materials to engrave are those with a single flat surface. However, surfaces with slight variations or arcs in them can be engraved successfully. One example of a surface that is slightly uneven or arced is shown in the flask photo below.
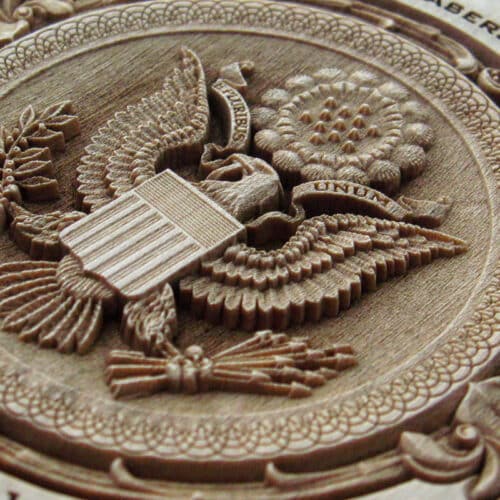
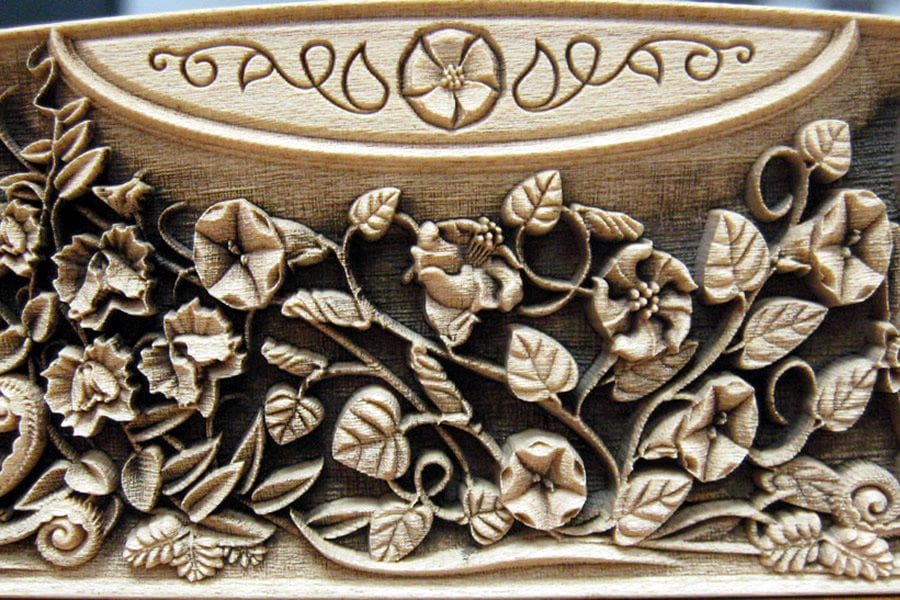
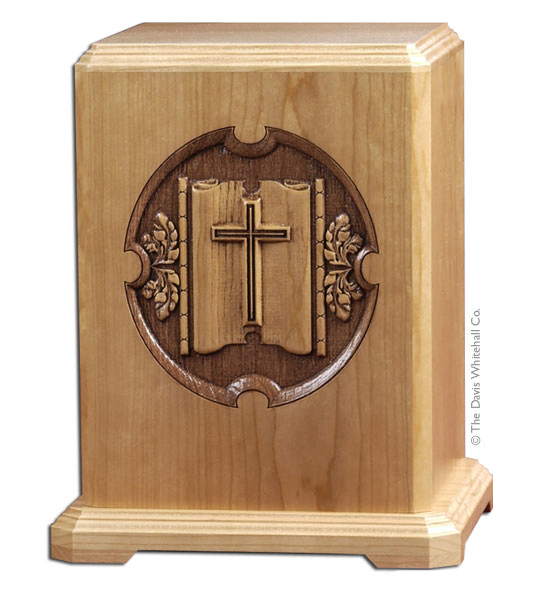
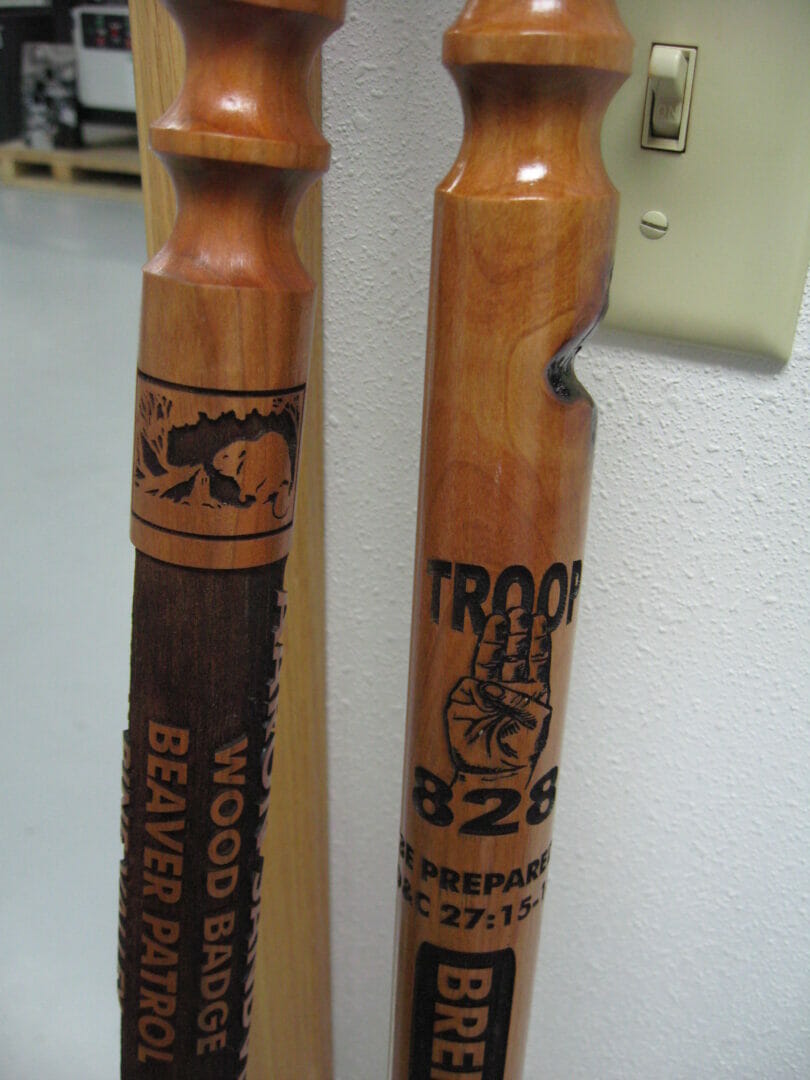
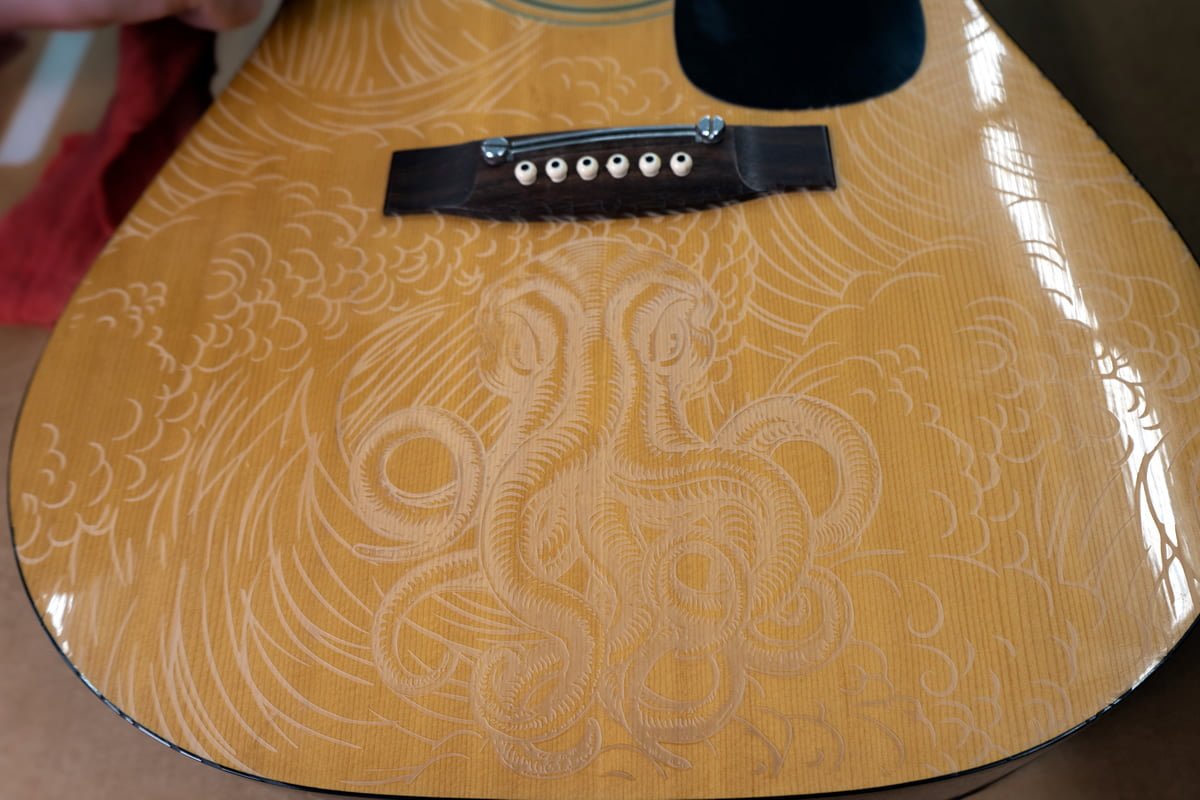
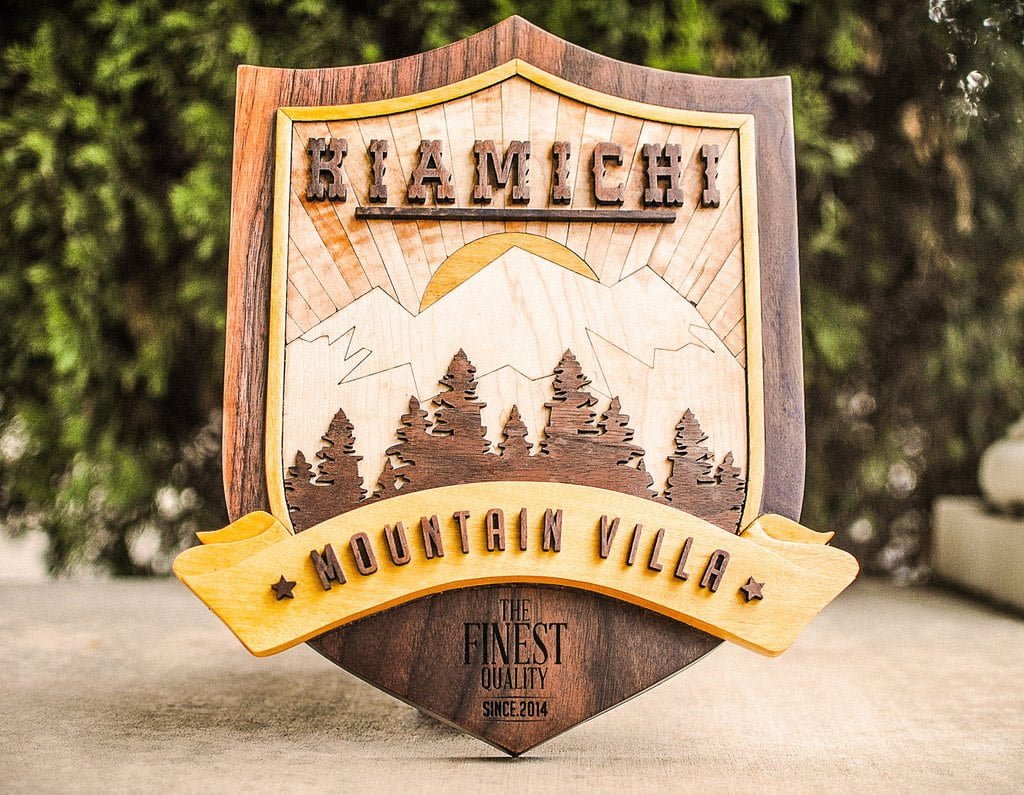
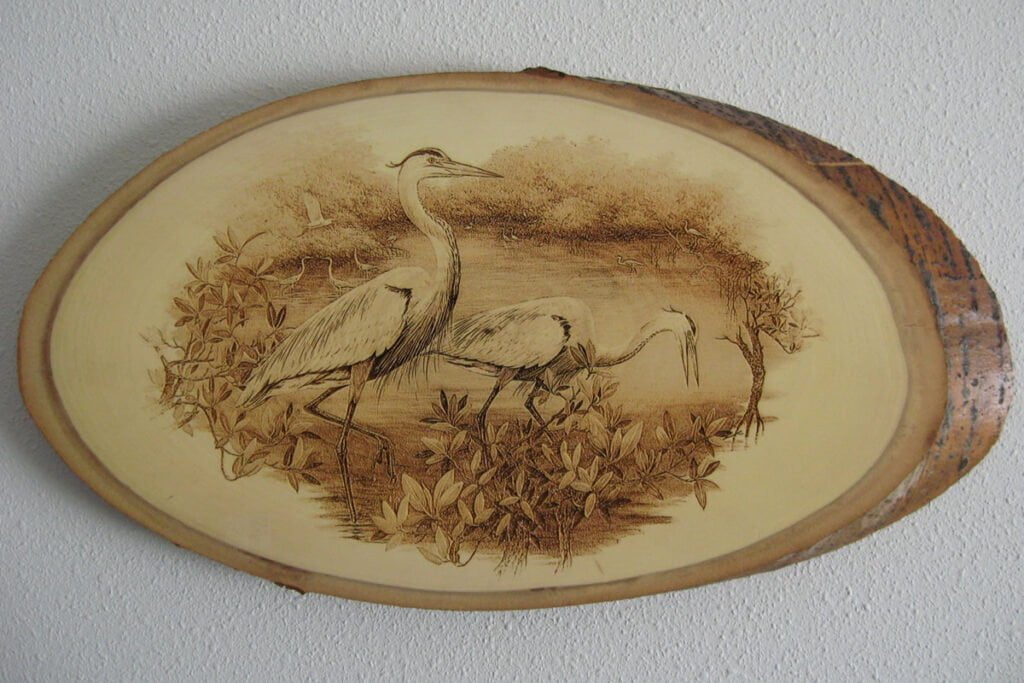
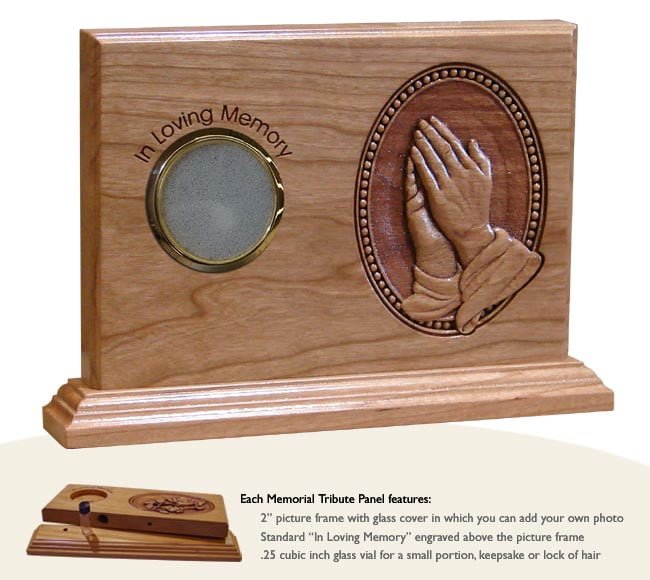
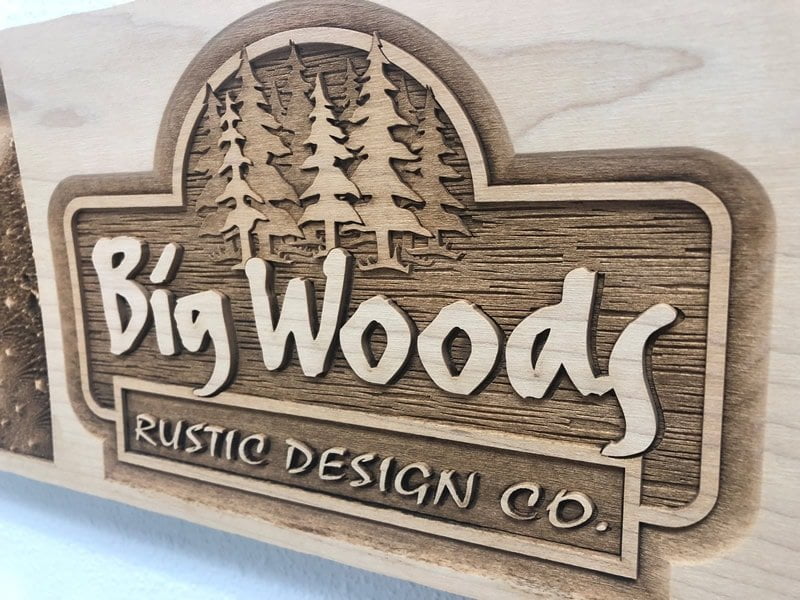
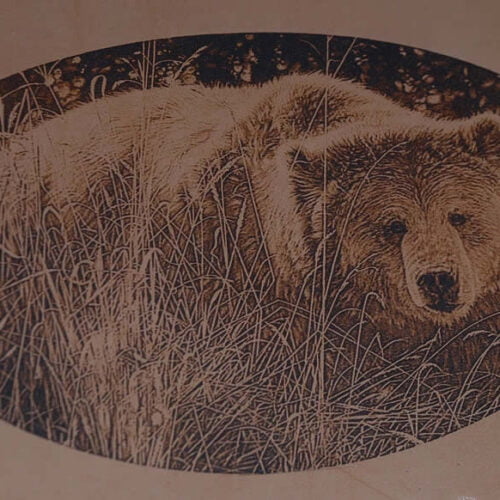
Kern is well known in the CO2 laser engraving industry for providing the most detailed 3D laser engraving system in the world! Kern’s 3D engraving technology has opened new avenues for artwork to be displayed on a variety of wood products. Designing 3D images takes some time but the end results will be breathtaking.
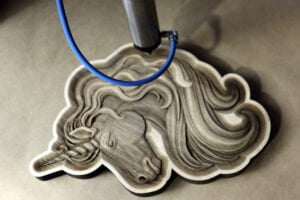
The Process
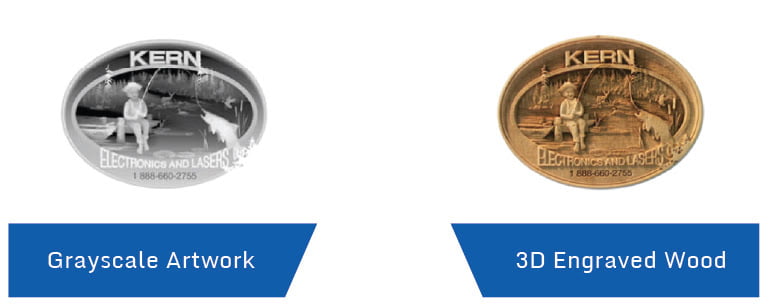
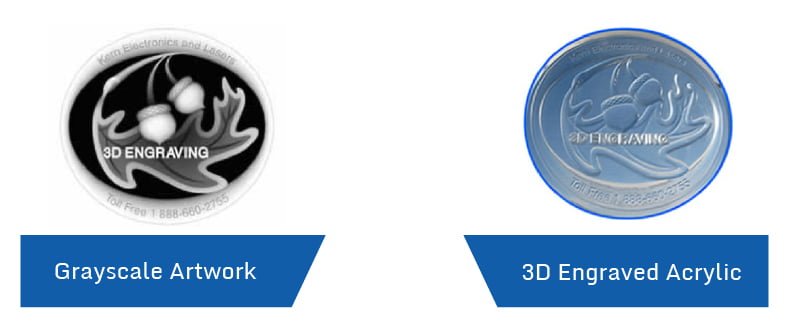
Designing 3D images generally takes more time than a standard 2D image, but the results are breathtaking and worth the time investment. Exactly 256 shades of gray can be interpreted by the KCAM software. That means there are 256 different power levels from black to white, which correlates to the 256 different levels of gray between black and white. This large spectrum of grayscales is what give the file a 3D like appearance. White is translated as 0% laser power and black would fire the laser at 100% power. Of course, the more power the laser engraves with, the deeper the relief in the material.
The key to 3D laser engraving is having a software that is capable of quicky adding grayscales to your artwork. CorelDraw is one such software where you can add grayscales based on a simple 0-100% scale.
The grayscale artwork below previews what a laser ready 3D image should look like. Kern’s KCAM laser software is one of the very few on the market which will accept true 8-bit or 256 different colors of gray for resolution.
The Gantry Co. is one such company that has been providing the finest 3D grayscale graphics to engravers since 1994. Check into the Partners Program which allows access to all 3D files available with substantial cost savings. For more information please visit www.gantryco.com.
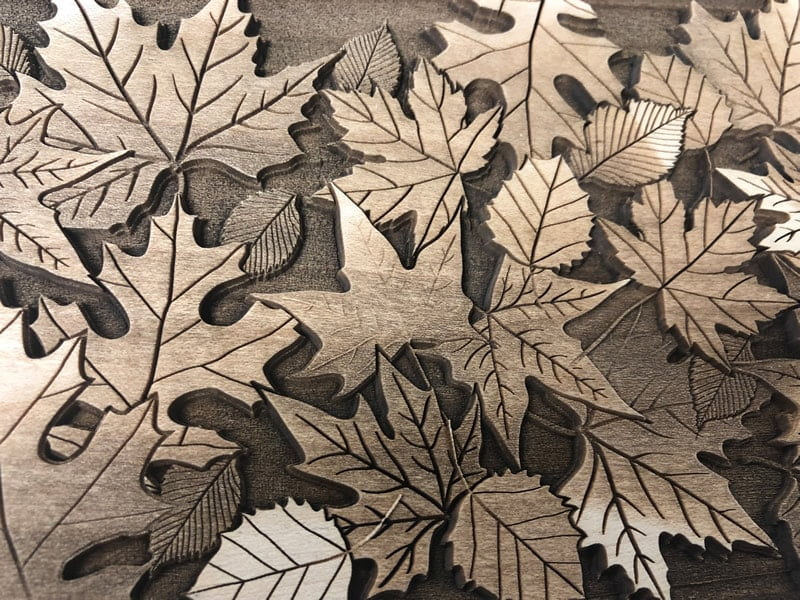
The Results
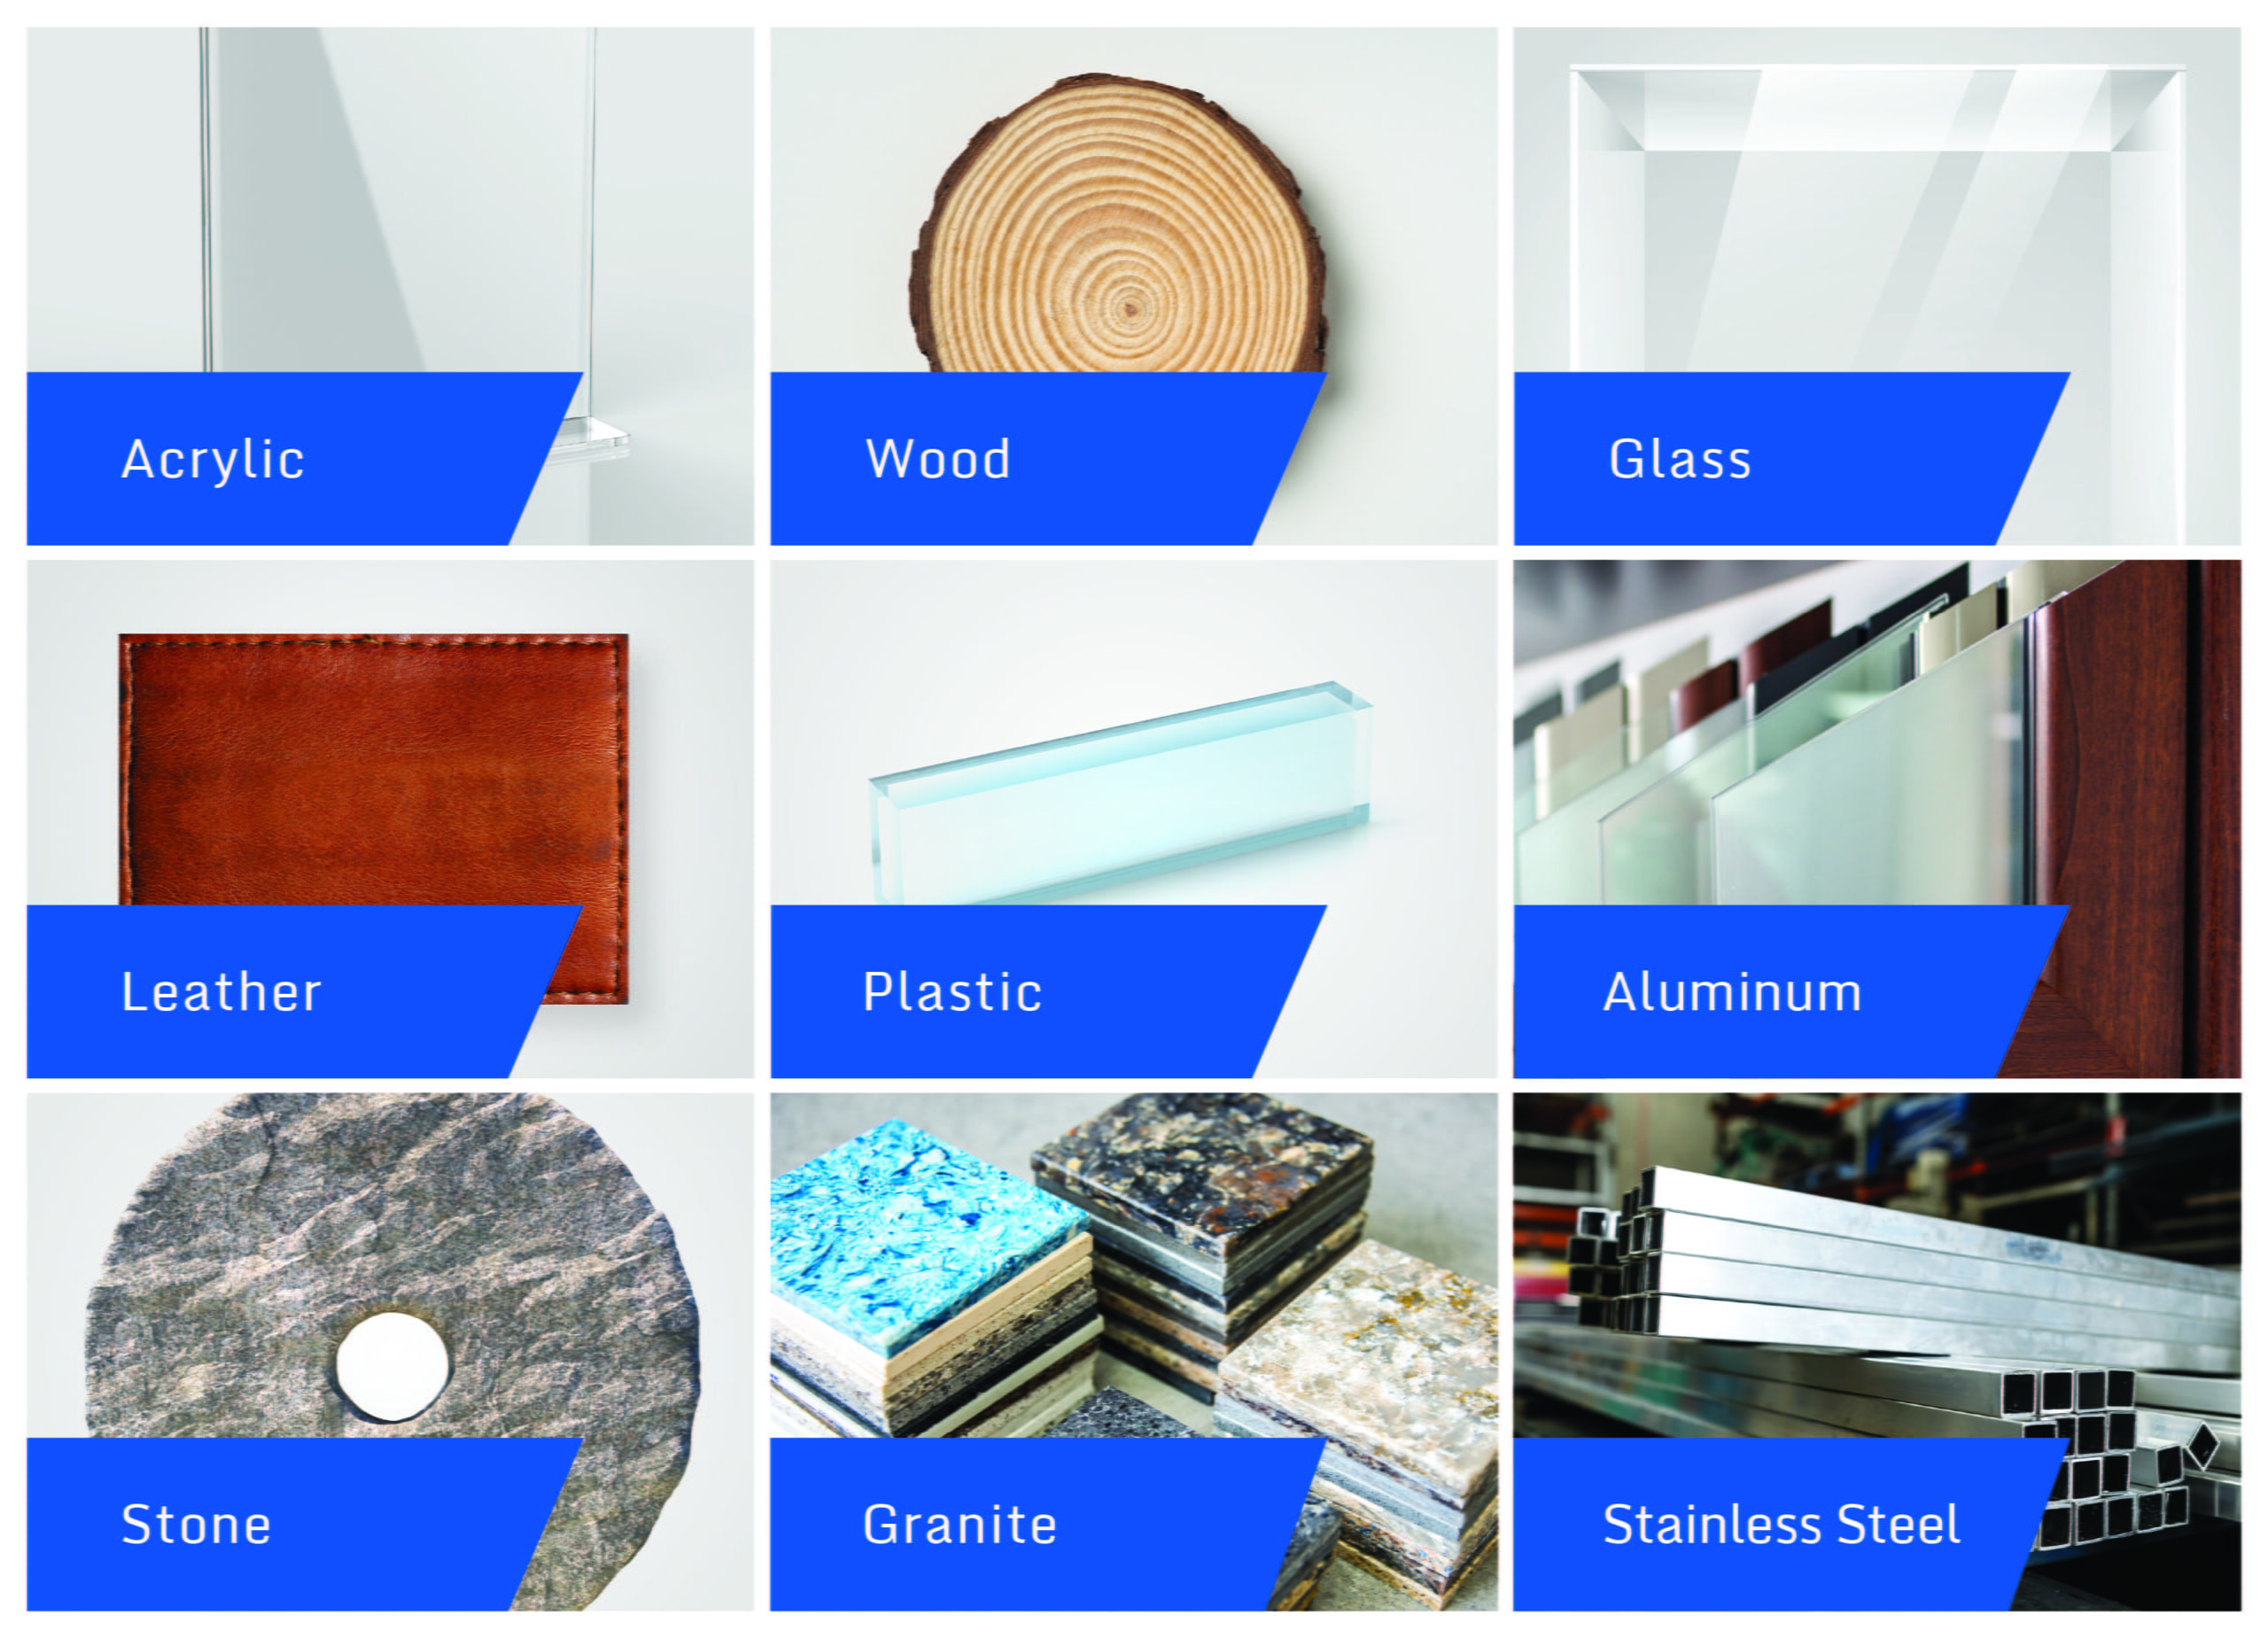
 Acrylic
As one of the most popular materials used by laser operators, acrylic is an ideal material for laser engraving. One of the desired effects of laser-engraved acrylic is a white, frosted look on clear acrylic. Here are a couple of tips for getting great engraving results on acrylic.
Kern offers a wide nozzle option on their S-FOCUS optic assemblies. This wide nozzle opening allows the assist air to be dispersed over a larger area across the engraving, decreasing fogging or shadowing effect.
Also note that different brands and types of acrylic will grant different results. An old piece of acrylic can even engrave less desirable than a new piece. Make sure you know what material you are working with and make notes on the best vendors.
 Glass
Glass
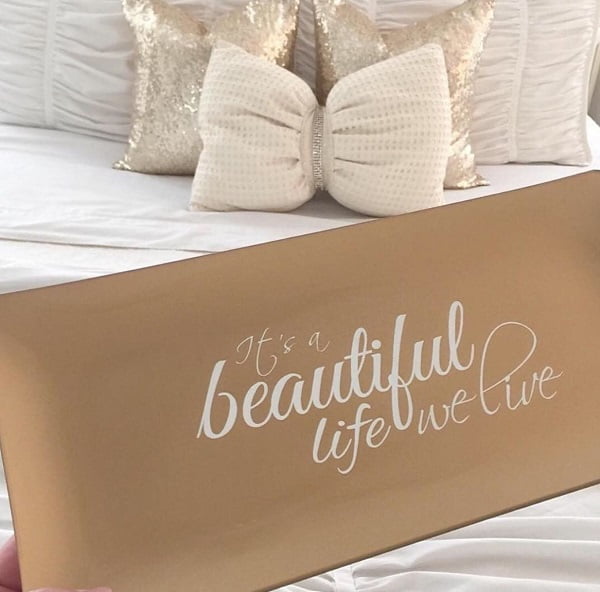
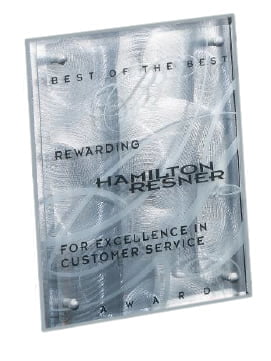
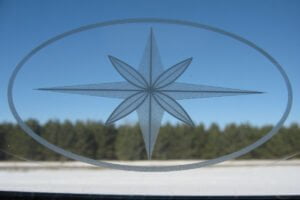
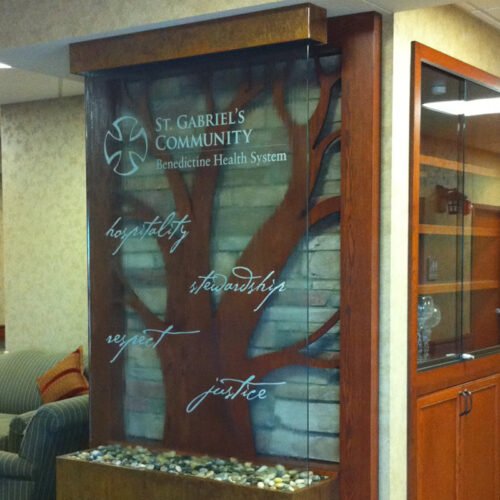
Laser etching glass with a CO2 laser can add stunning detail to a variety of items like mirrors, windows, wine glasses, and liquor bottles. As one of the less expensive materials for laser processing, glass is a great low-risk material.
One undesirable effect of laser etching glass is the occurrence of small micro fracturing left on the laser etched area. Here are two tips for dealing with this:
Etching on the back side of the glass ensures that the small micro fracturing that may occur on the etched surface are not accessible by anyone. Make sure you mirror your image before laser etching so that the image displays correctly when looking at it from the front side of the glass!
If etching on the top surface is required, a piece of newspaper can be used to remove the micro-fracture or glass shards that are left over from laser etching. Crinkle up the newspaper and rub the etched area in a circular motion. These tricks are inexpensive and easy to trial and require minimal clean up.
 Leather
Leather is a material that responds well to laser engraving. Engraving adds customization and provides consistency to a wide range of leather products, including shoes, wallets, holsters, belts and purses. The types of laser-engravable leather are:
- Natural leather
- Suede leather
- Synthetic leather
- Vegetable Tanned leather
- Full-grain leather
- Bonded leather
Different types of leathers will have different results from engraving. As always, the quality of the material will impact laser engraving results. When working with a new leather type, always test your engraving on a piece of scrap leather to gauge processing settings.
 Metals
There are two types of metal etching substrates: raw metal and coated metal.
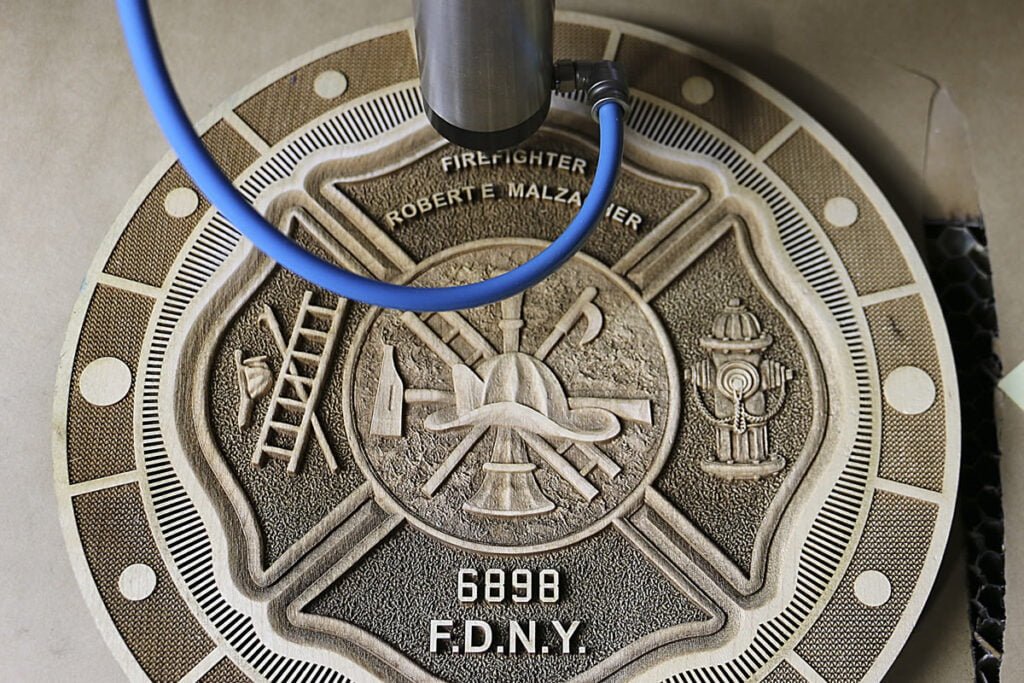
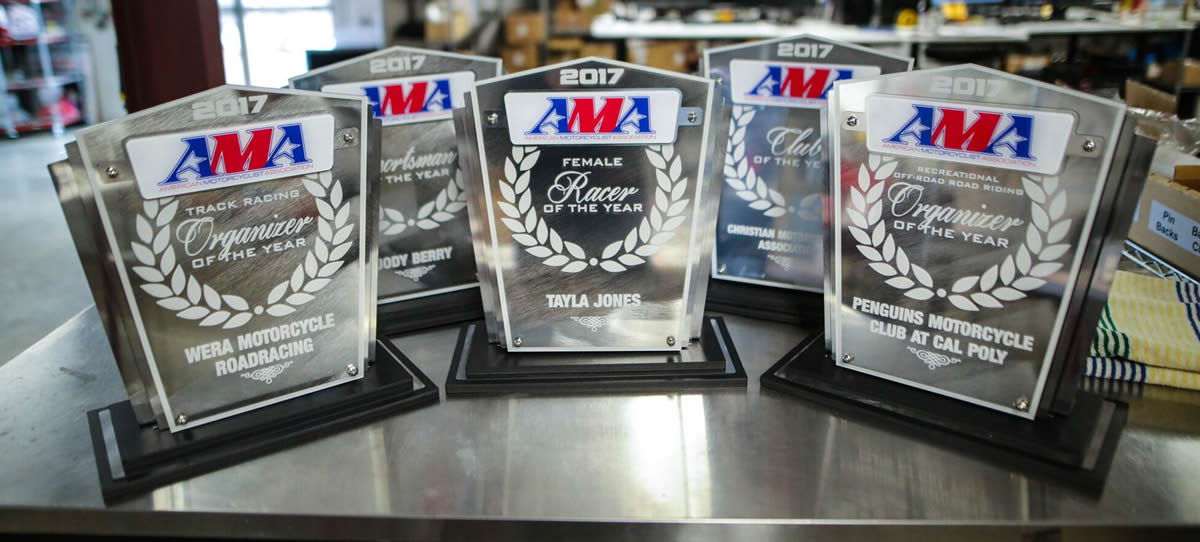
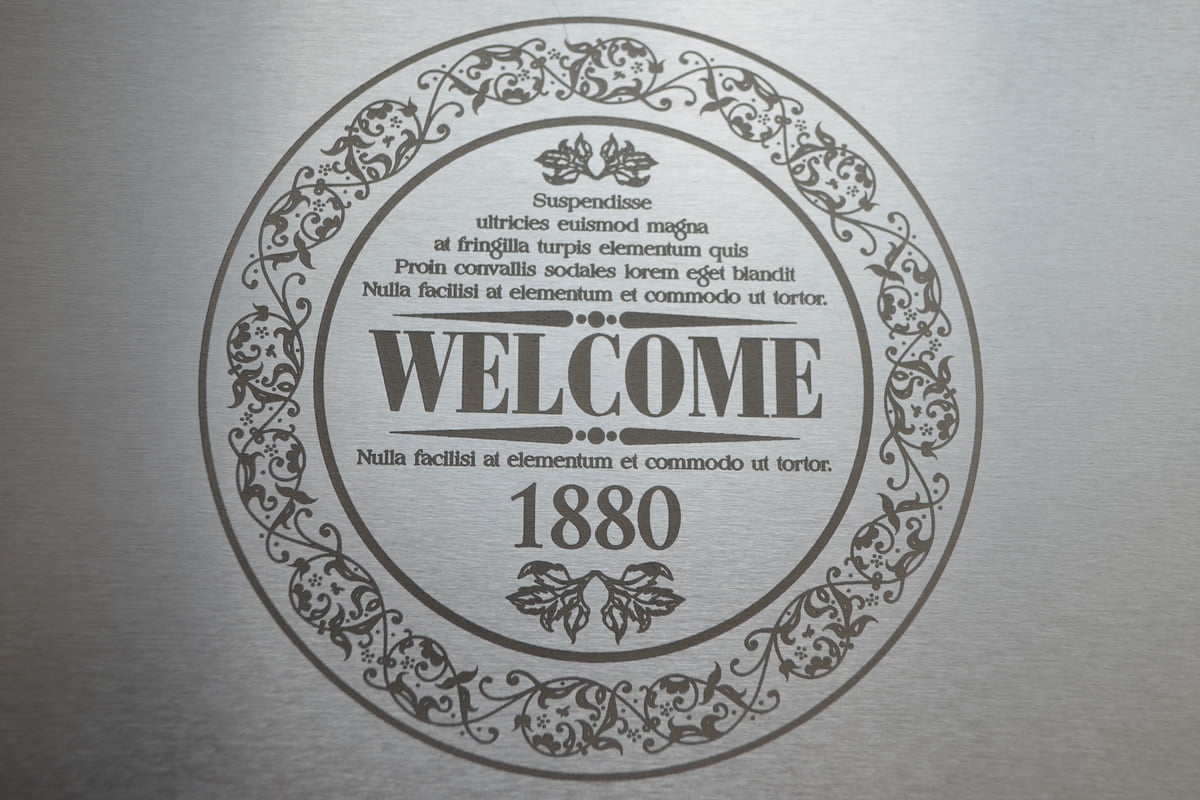
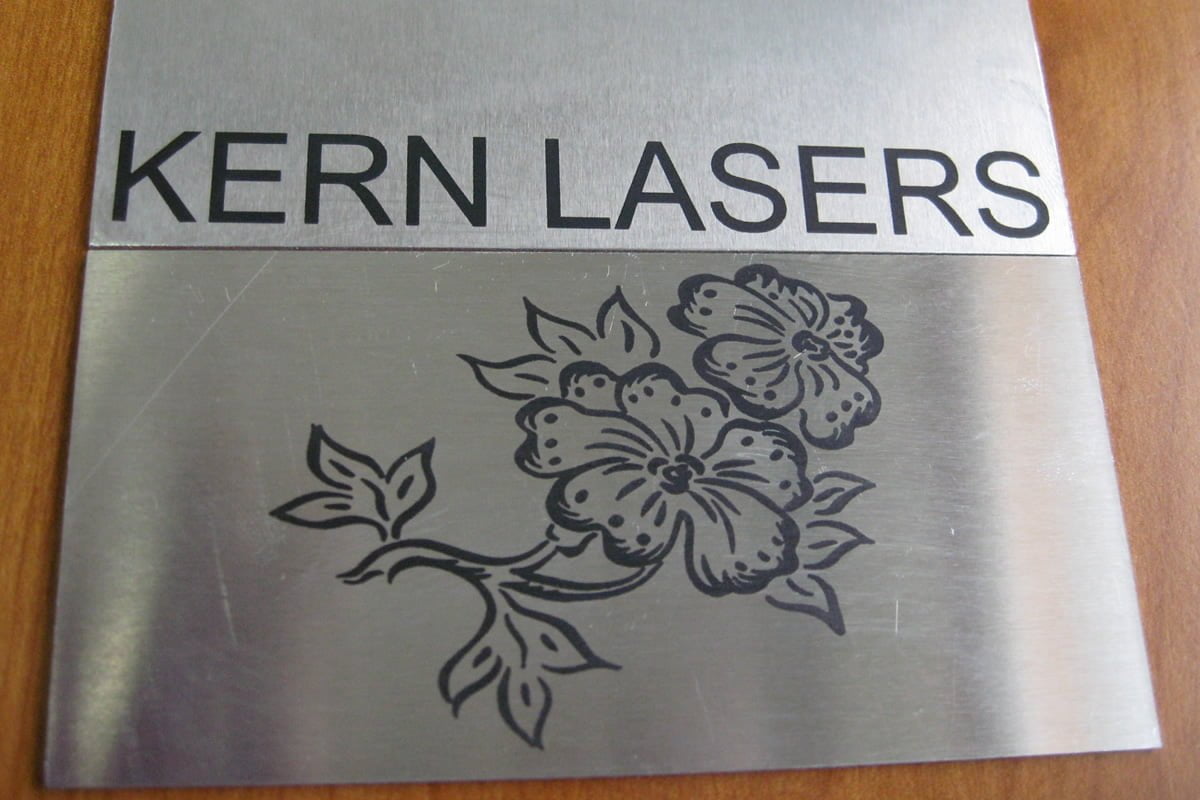
Raw metals like stainless steel and aluminum can be successfully laser marked. Stainless steel can be marked one of two ways. The first method is to directly etch the metal with oxygen assist gas. The assist gas oxidizes the surface of the metal leaving a contrasting color. This may work well for industrial marking applications but is probably not the best option for medical or where food-grade marking is required. The other option is to use a marking spray such as Cermark®. Cermark can be applied to the metal surface in a tape or spray form. If using the spray, apply the coating and let it dry. Once dry, the laser will then be used to etch over this area and a durable and contrasting mark is left on the surface of the metal.
Coated metals like anoized aluminum and powder-coated steel can be etched directly. The laser will vaporize the coating leaving the raw metal as the contrasting mark. Coated metal products include the etching of flashlights, tags, phone covers, flasks, and labels.
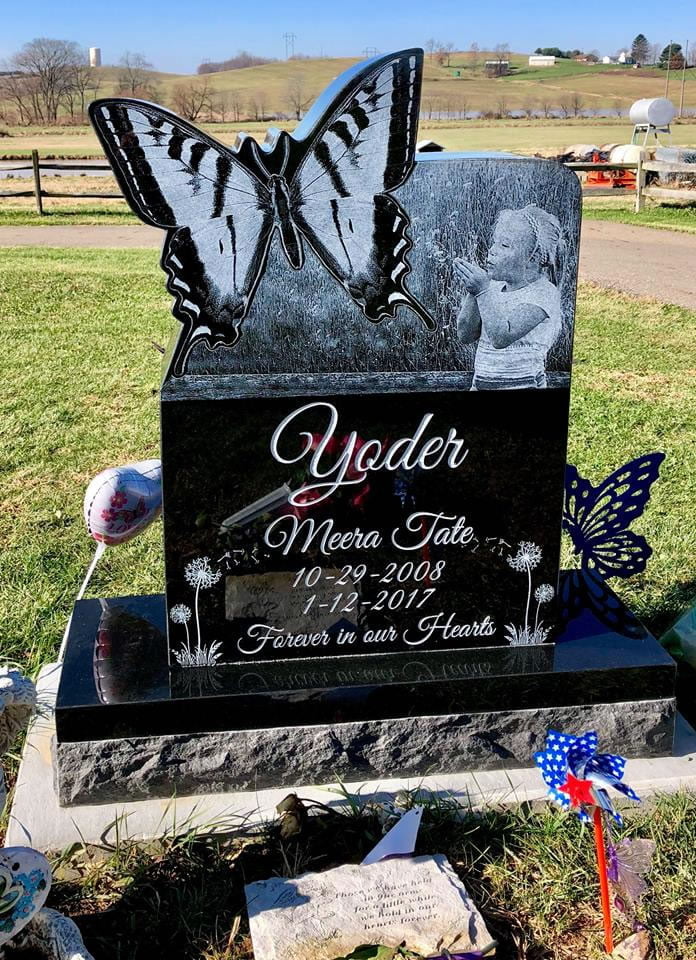
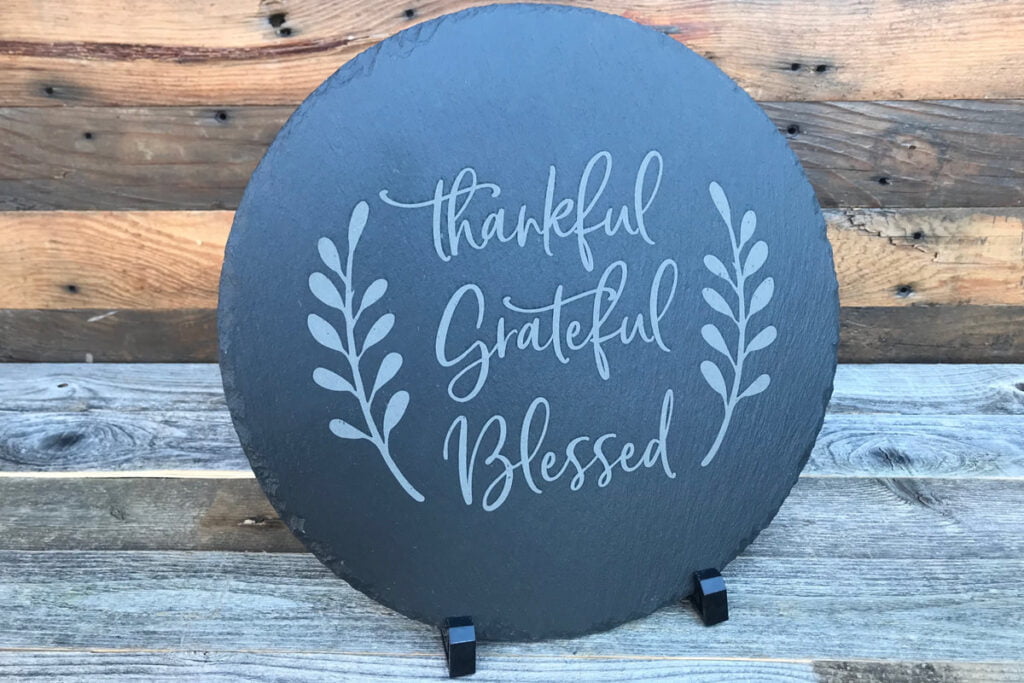
 Stone
Stone
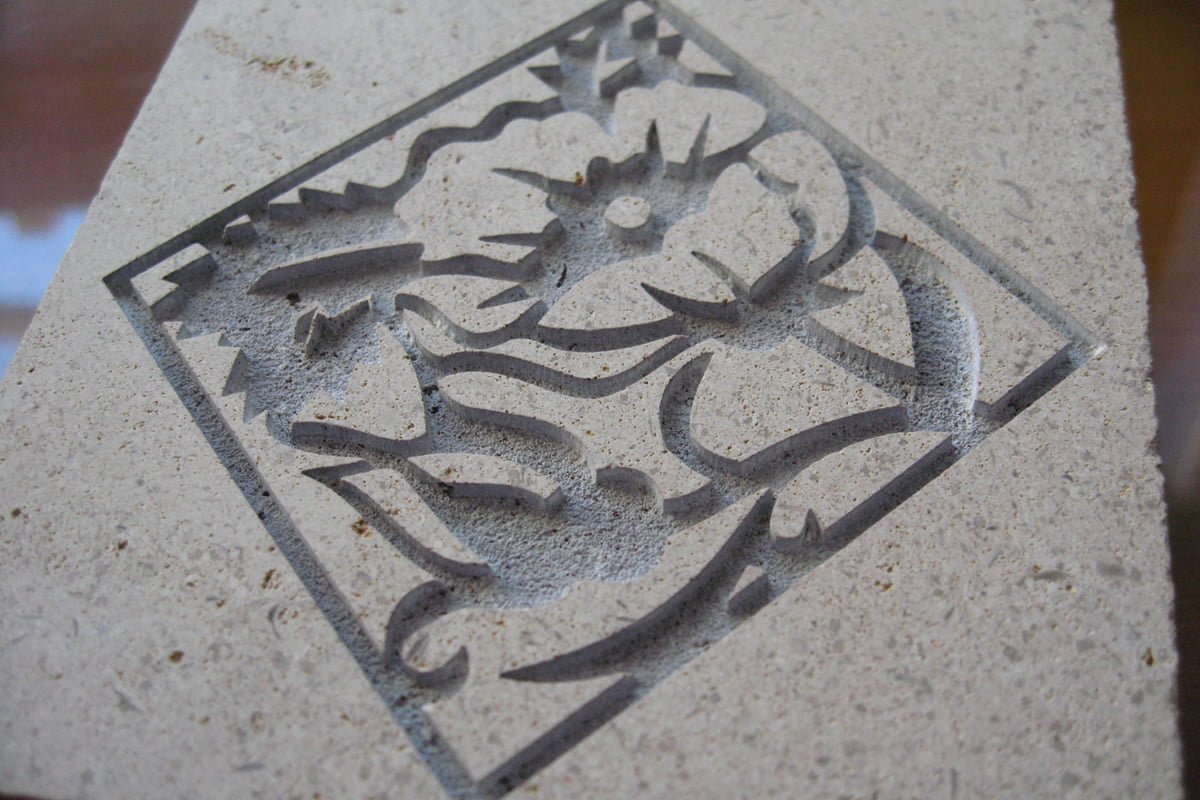
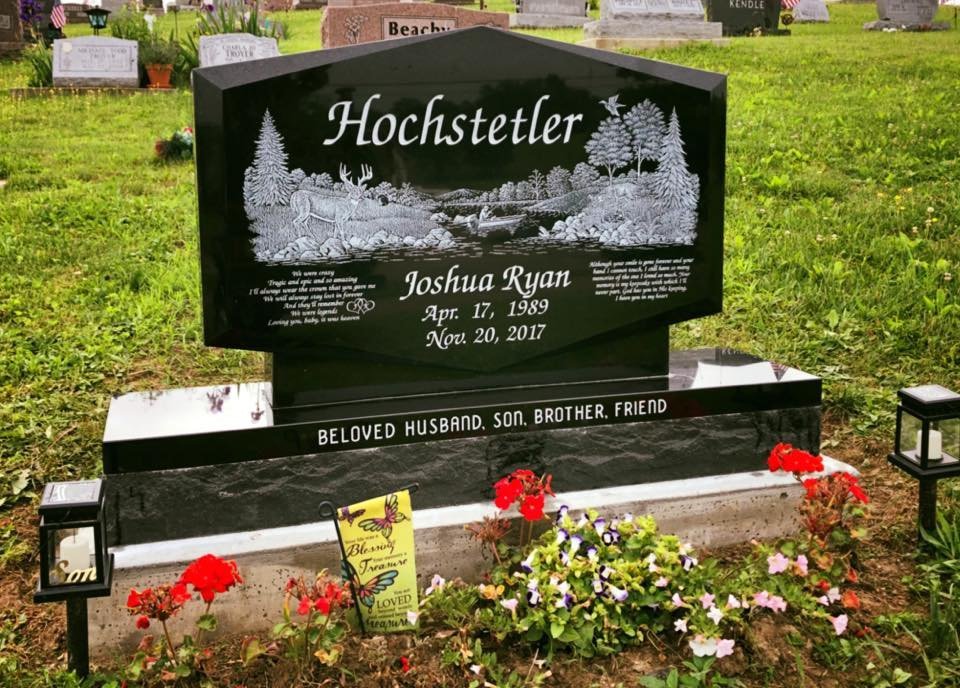
Unlike human-made materials like plastic or glass, natural stone is, well, natural. As a result, it has unique characteristics that impact the overall quality and consistency of laser engraving. When laser engraving natural stone, it is beneficial to understand these characteristics.
Whether you’re engraving granite, marble, ceramics, porcelain or some other type of natural stone, the density and uniformity will impact the engraving process. As a rule-of-thumb, fine-grained, uniform stone will yield the most consistent results from laser engraving. When etching on granite and marble, the black-colored stone will allow for a white etch to be left behind.